so the 1961 electric brakes still work, and we got down hathaway creek crossing smooth and under control.
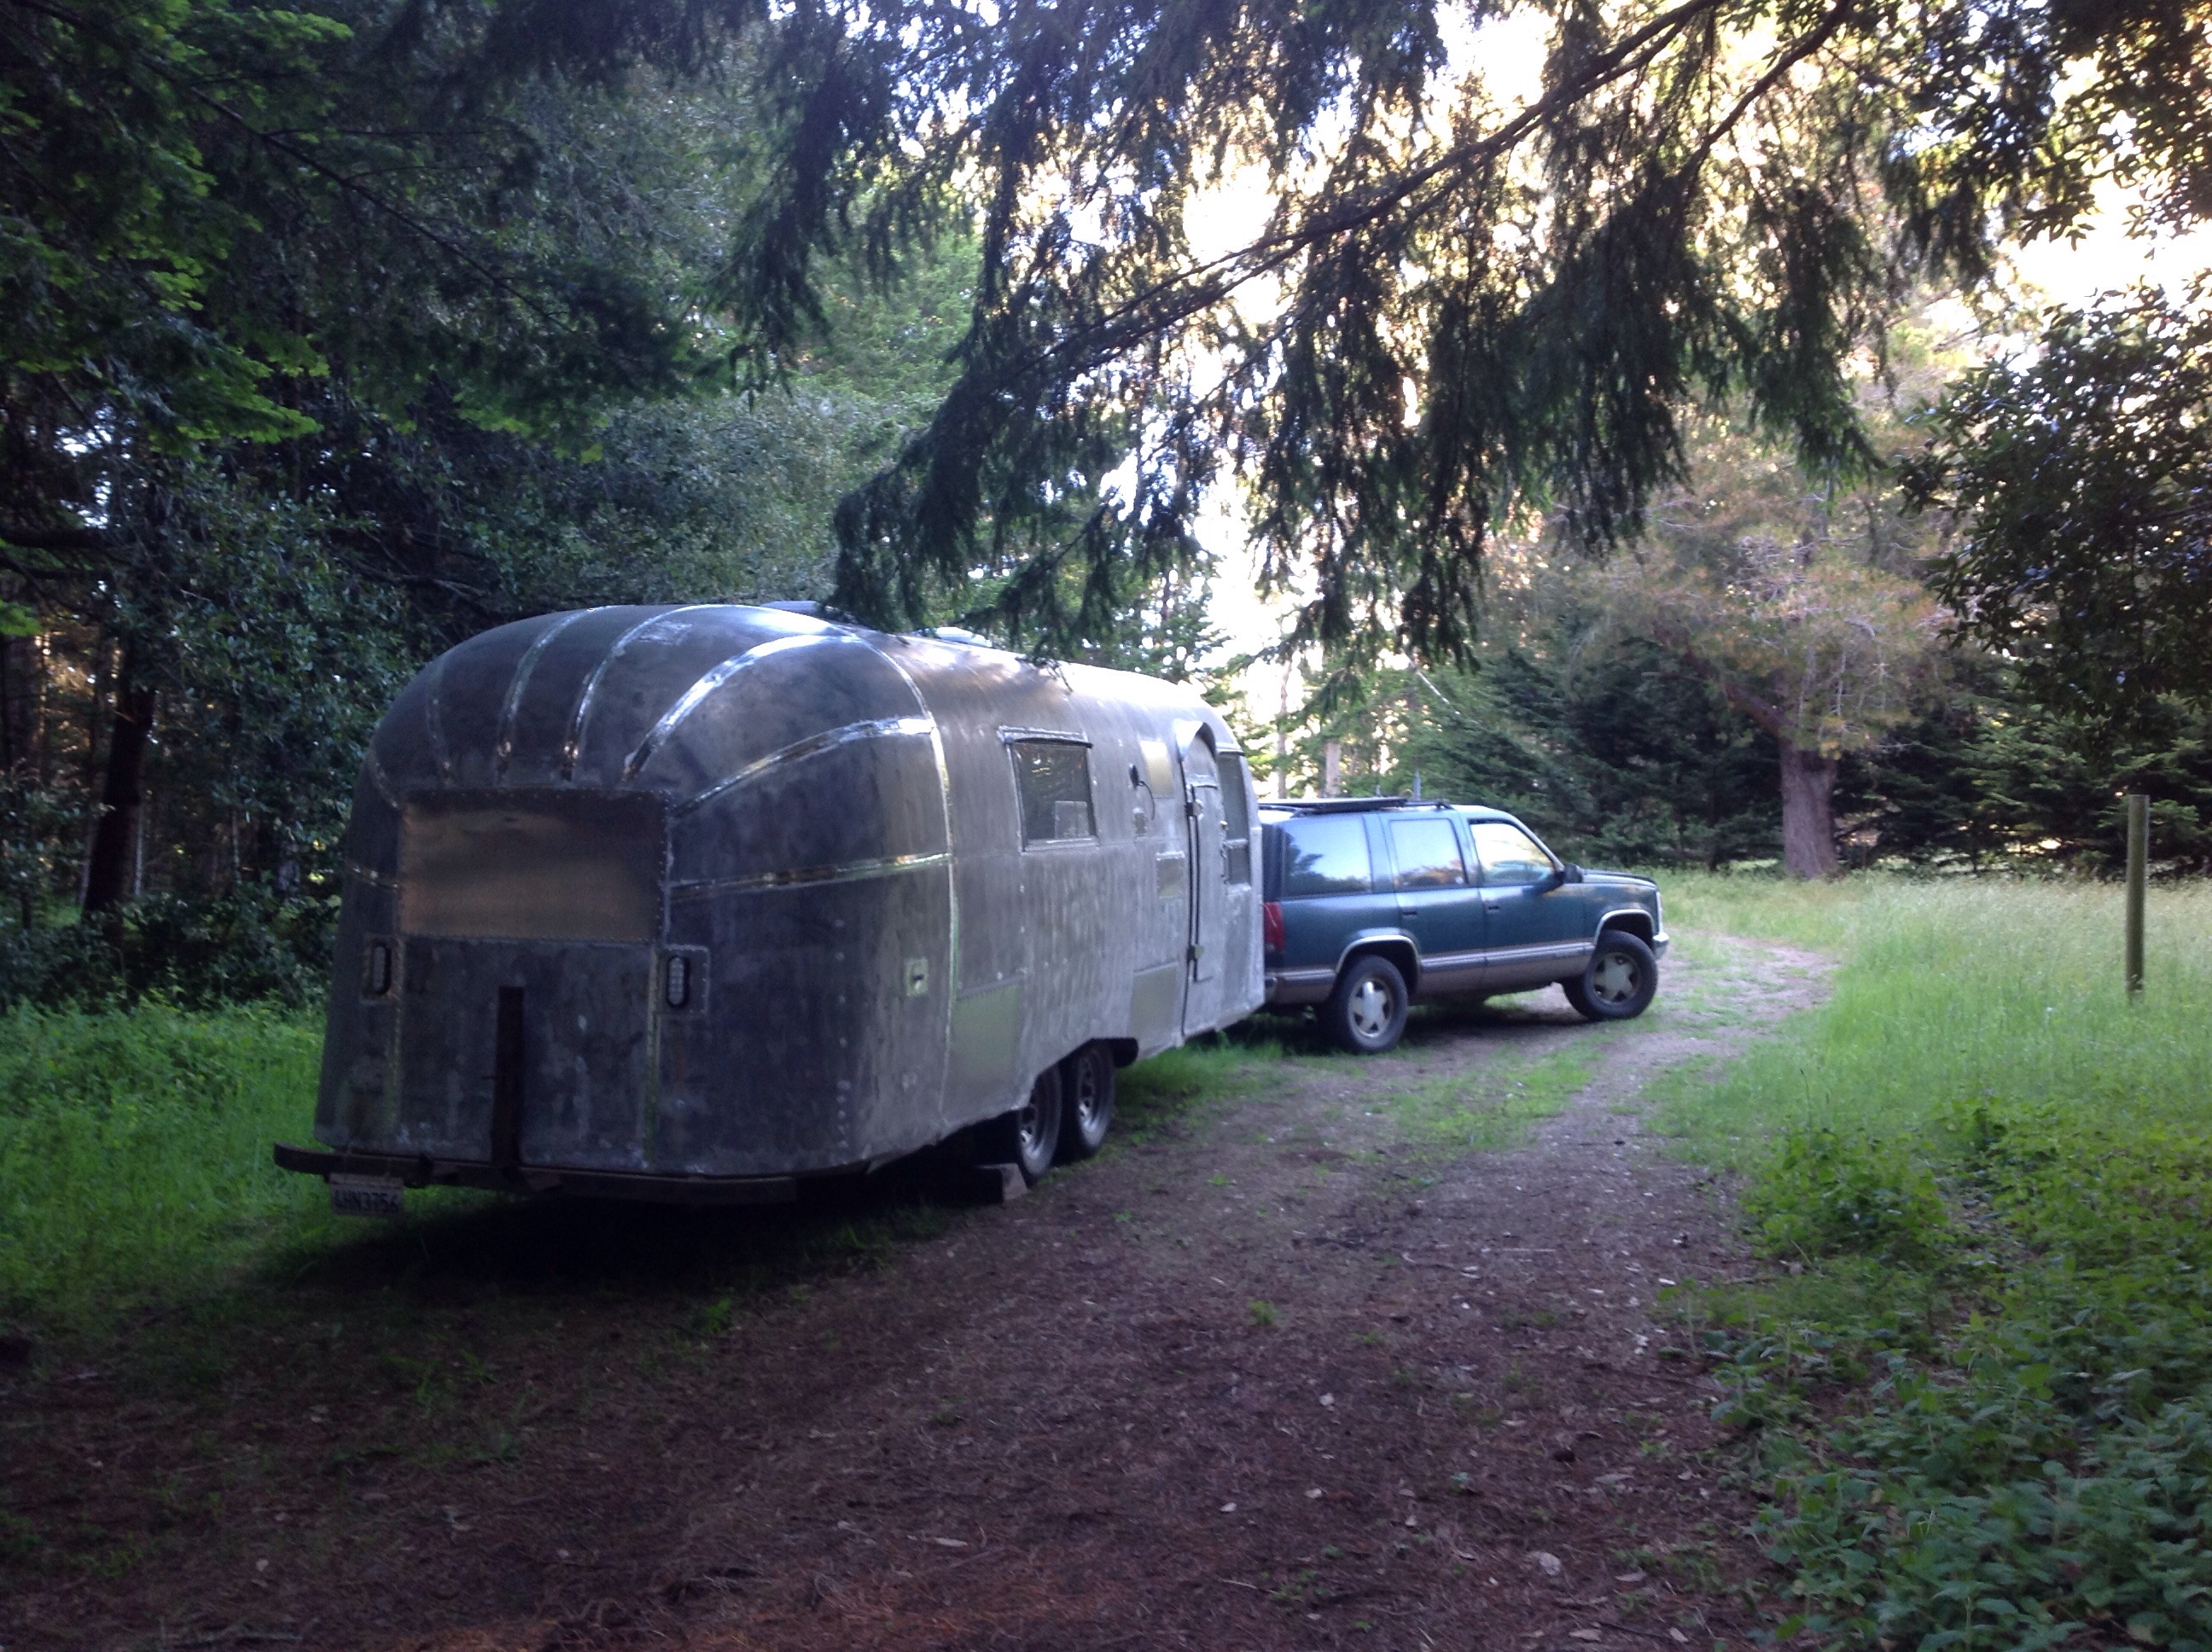
new campsite is very nice, but guess who is evereywhere underfoot? organc herbicide = torch or 20% vinegar?


so the 1961 electric brakes still work, and we got down hathaway creek crossing smooth and under control.
new campsite is very nice, but guess who is evereywhere underfoot? organc herbicide = torch or 20% vinegar?
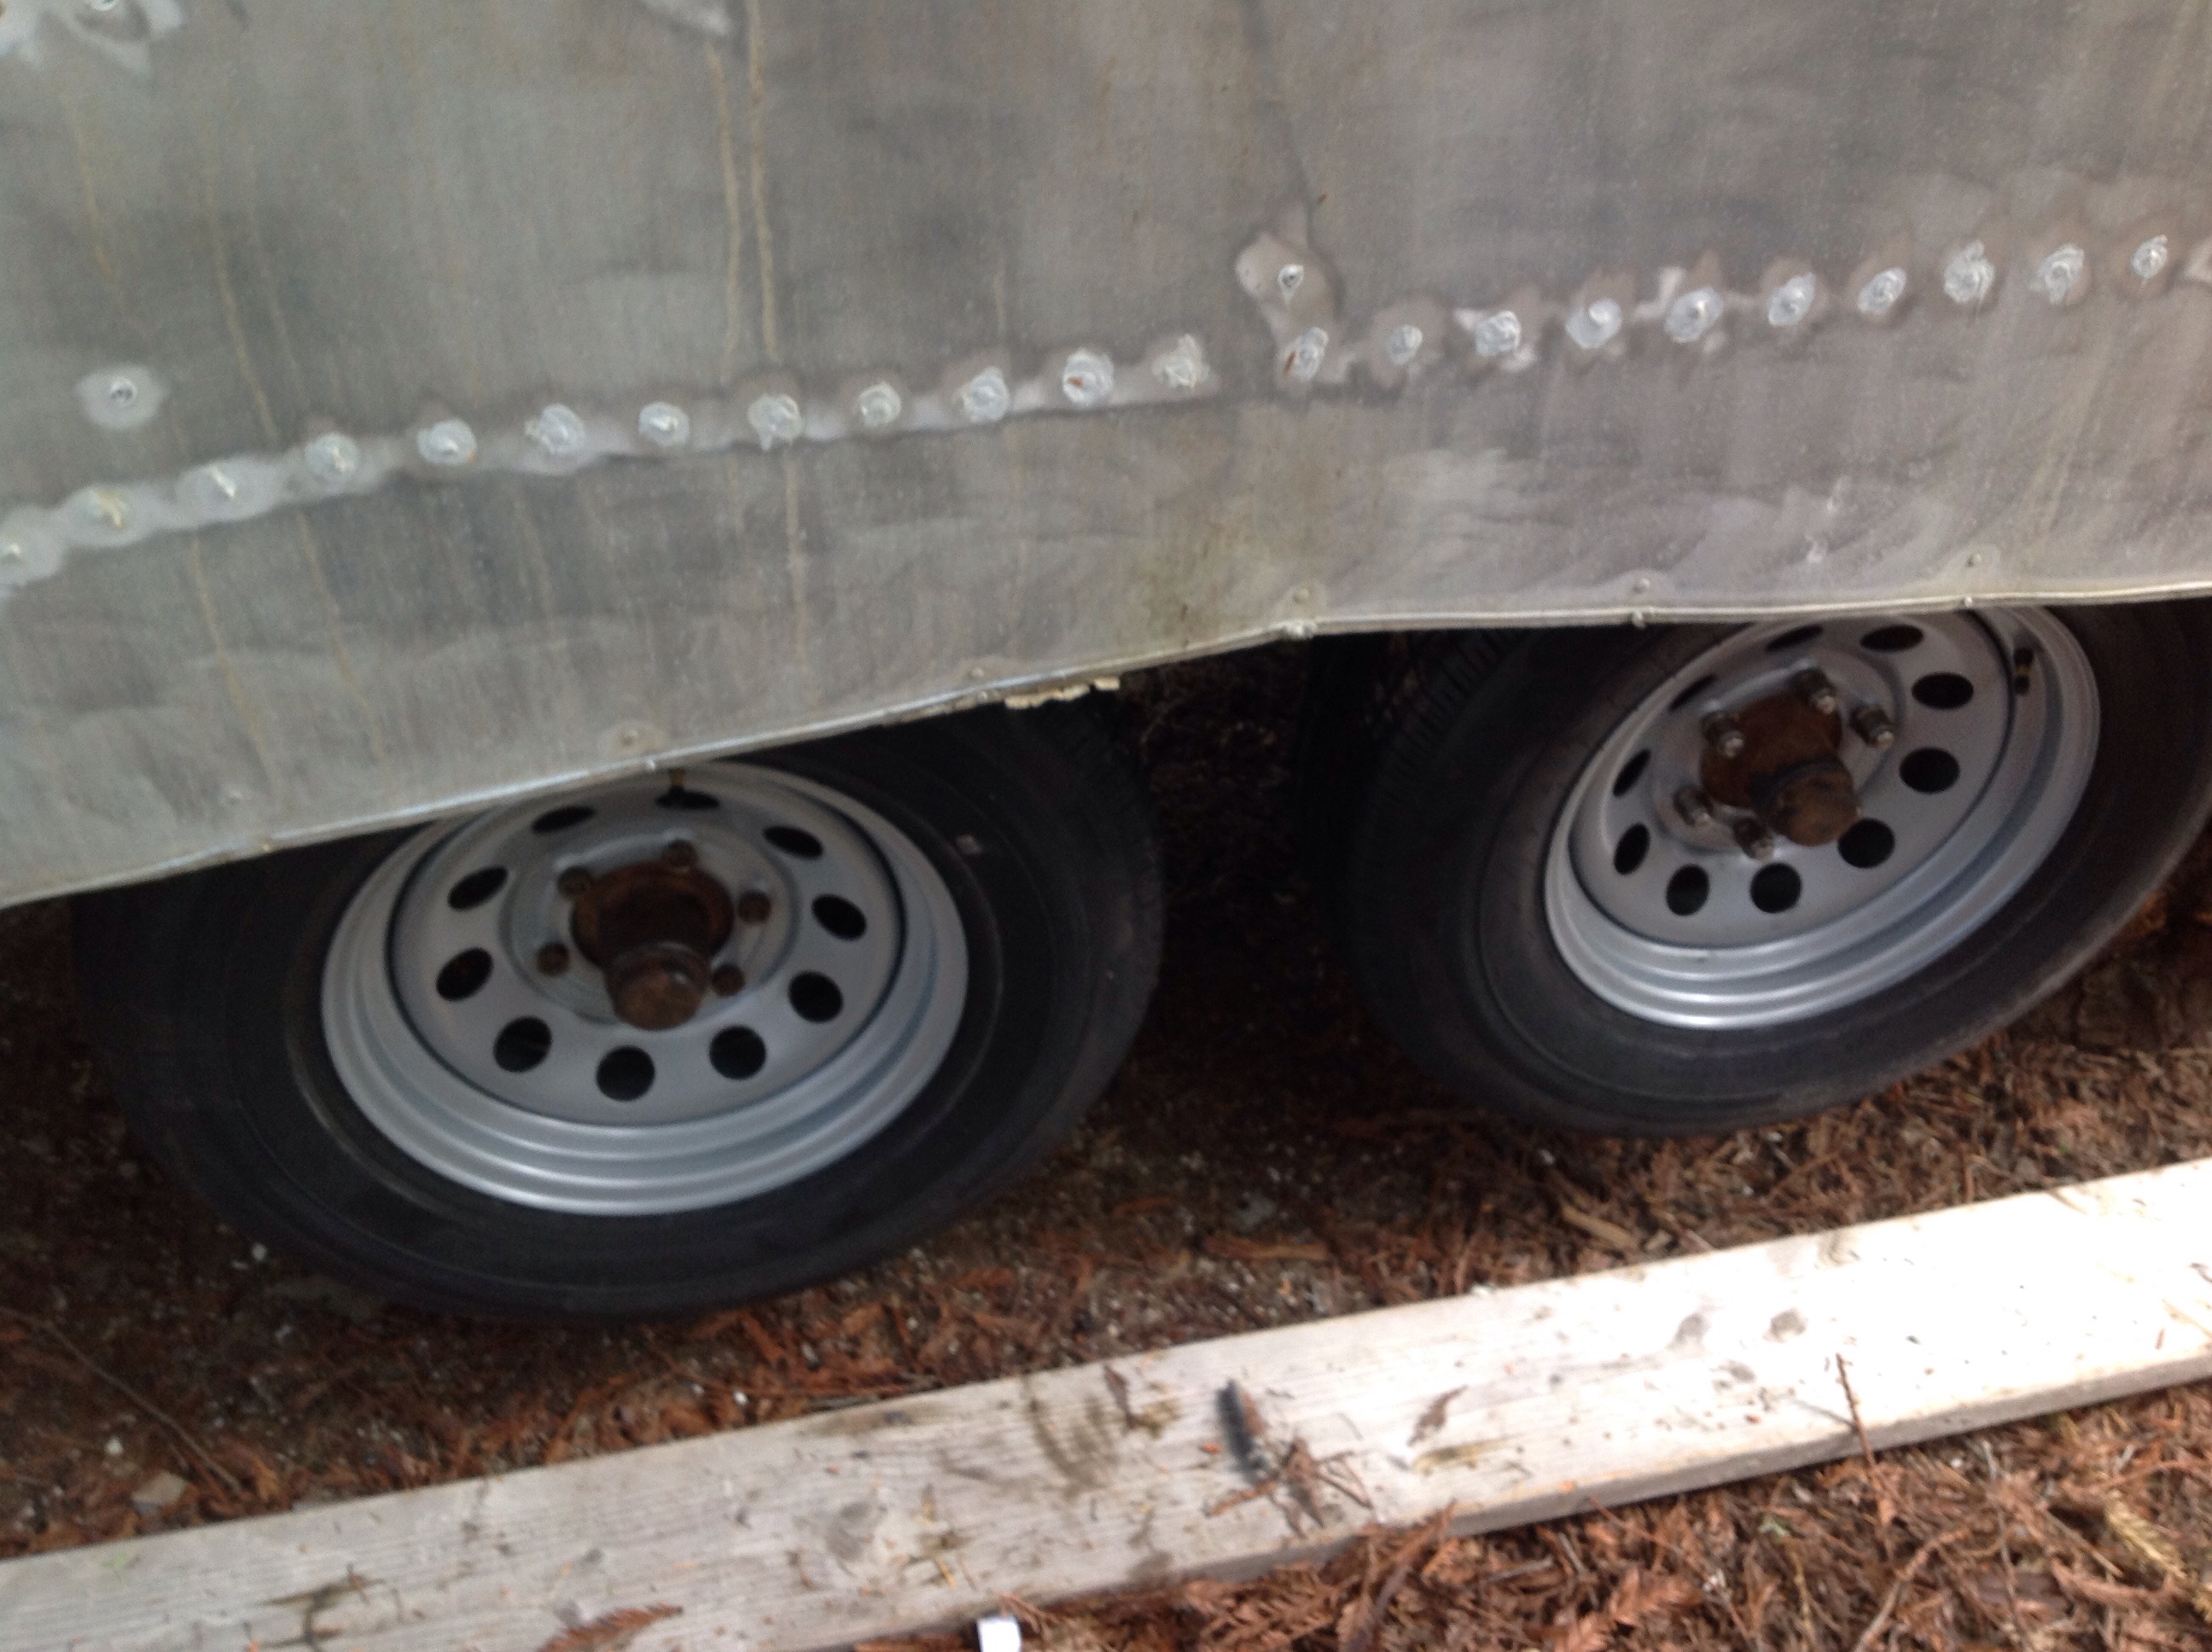
new shooz for the shopstream and test from ipad wp app.
part two enable fb auto post?
50th Kinetic Grand Championships. i helped out by being part of the Amateur Radio team that relays the course. Here’s “disco Daren” at the finish line in Ferndale. They made him wait at the city limits he was 11 minutes before noon.
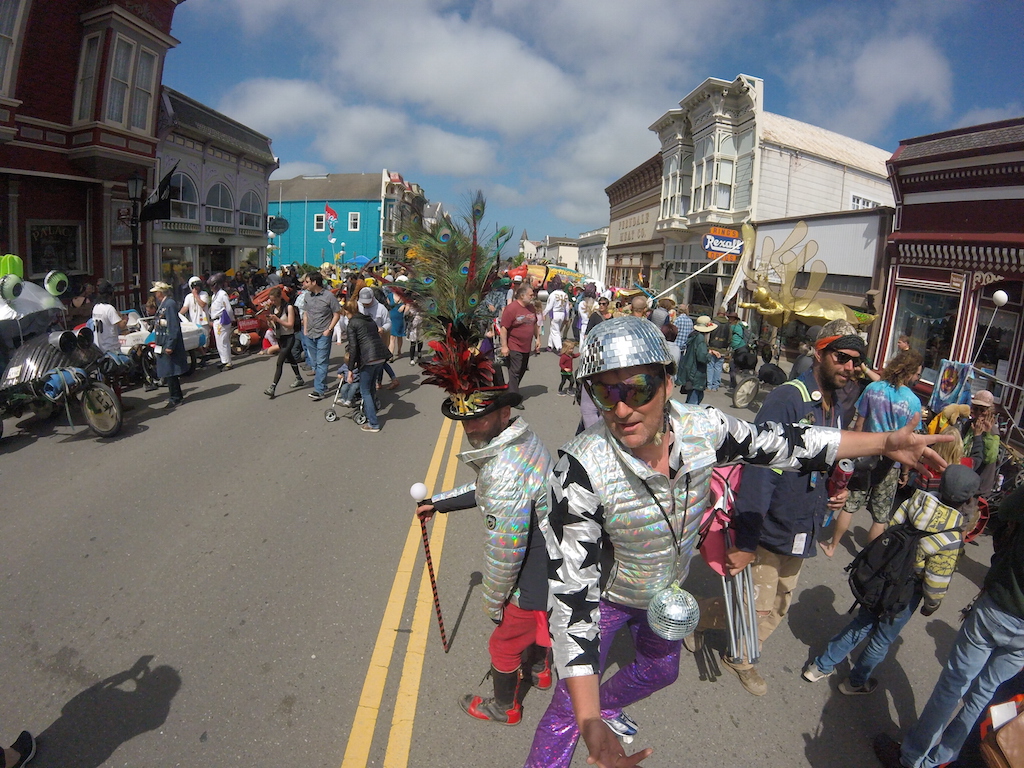
DCIM100GOPRO
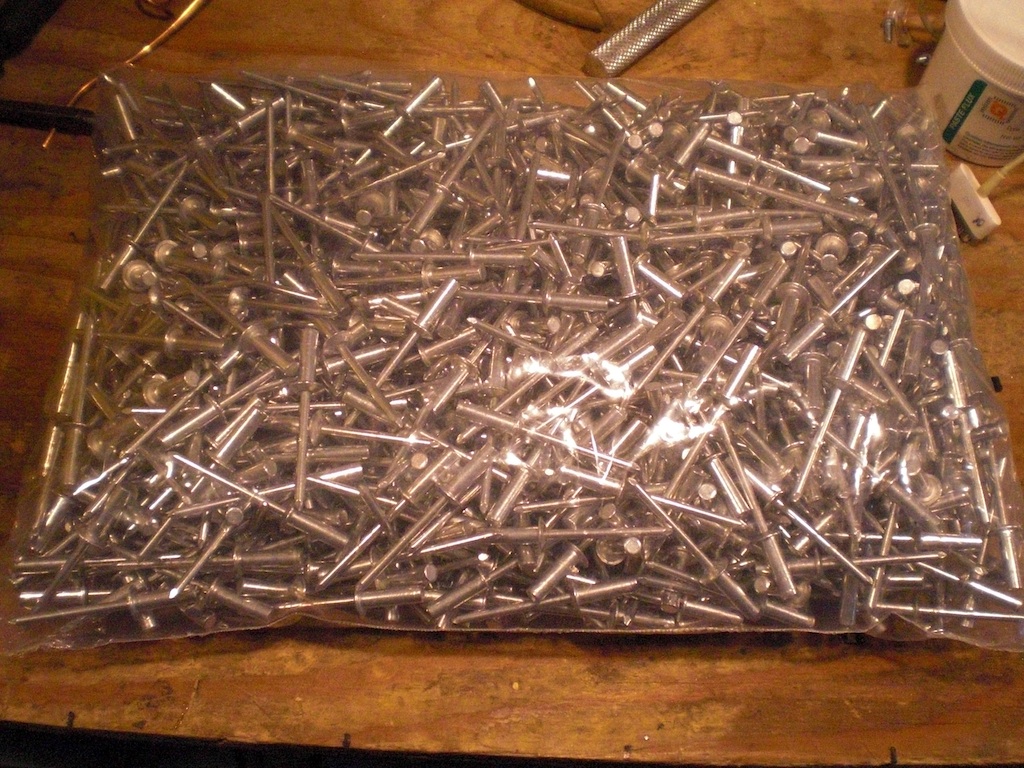
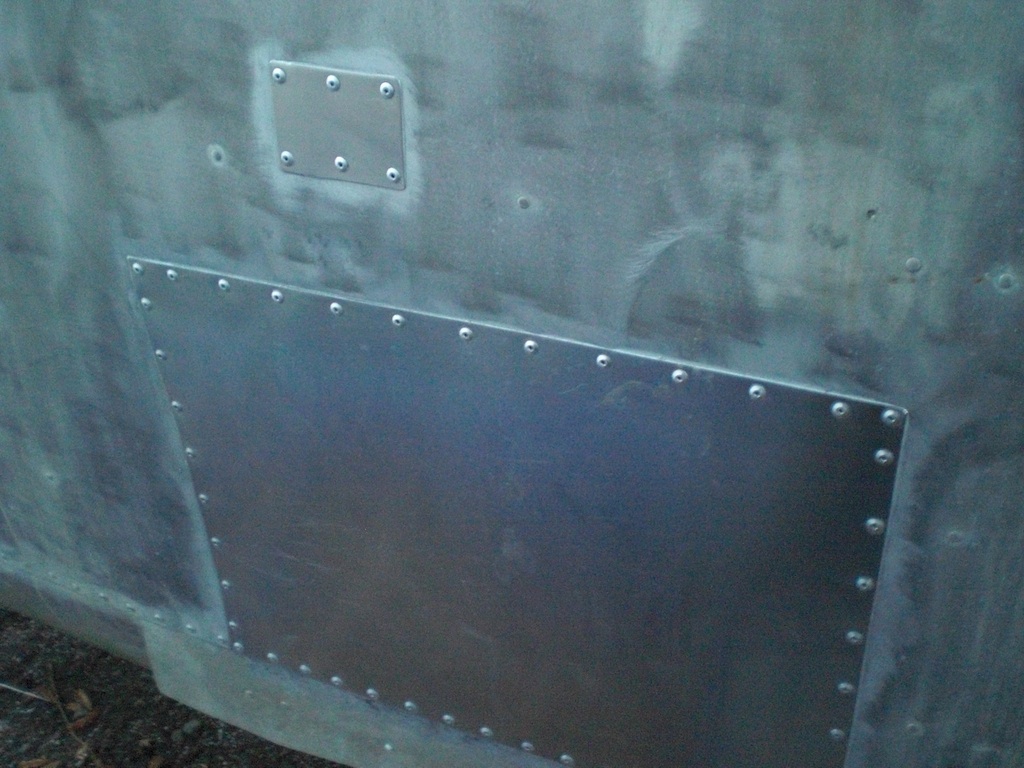
There is something inherently Zen about anything in quantity “one thousand”. These are “6-6 Closed End” rivets direct from jersey that should be a watertight seal when done. i sure f’n hope so, i’ve burned throu a couple hundred now.
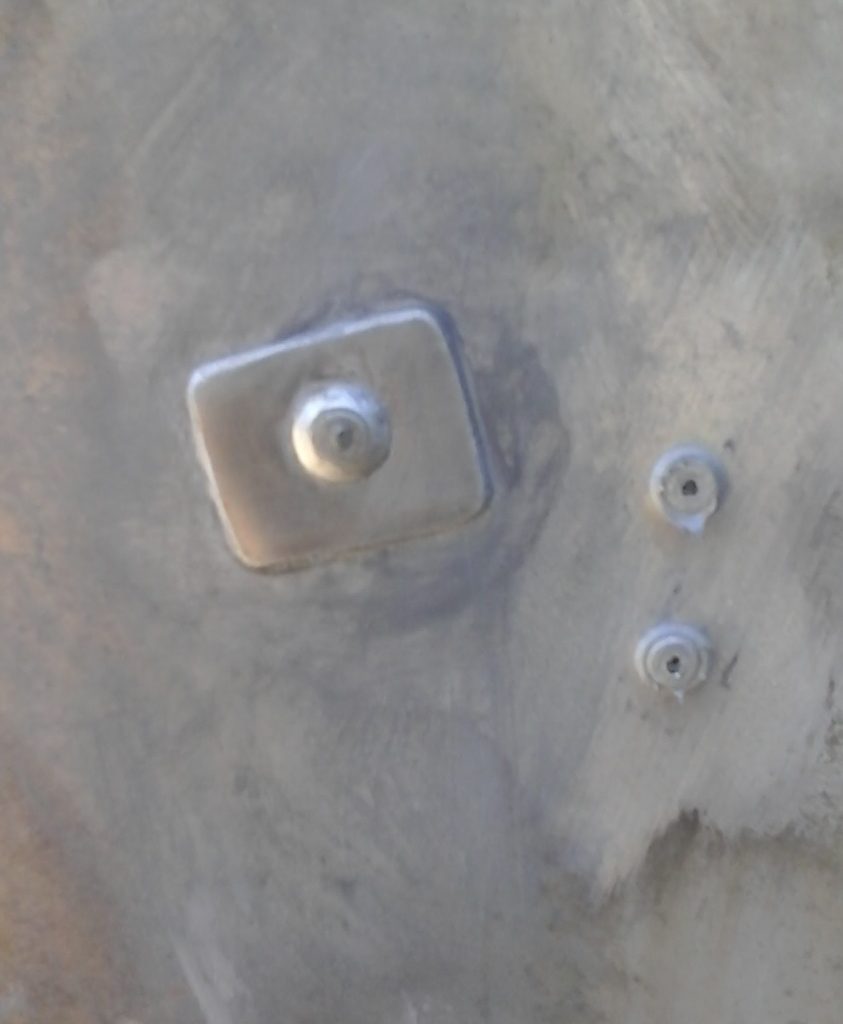
a Faraday cage is only as good as the smallest hole. same thing for rodent proofing. started with the biggest holes and working down to the smallest.
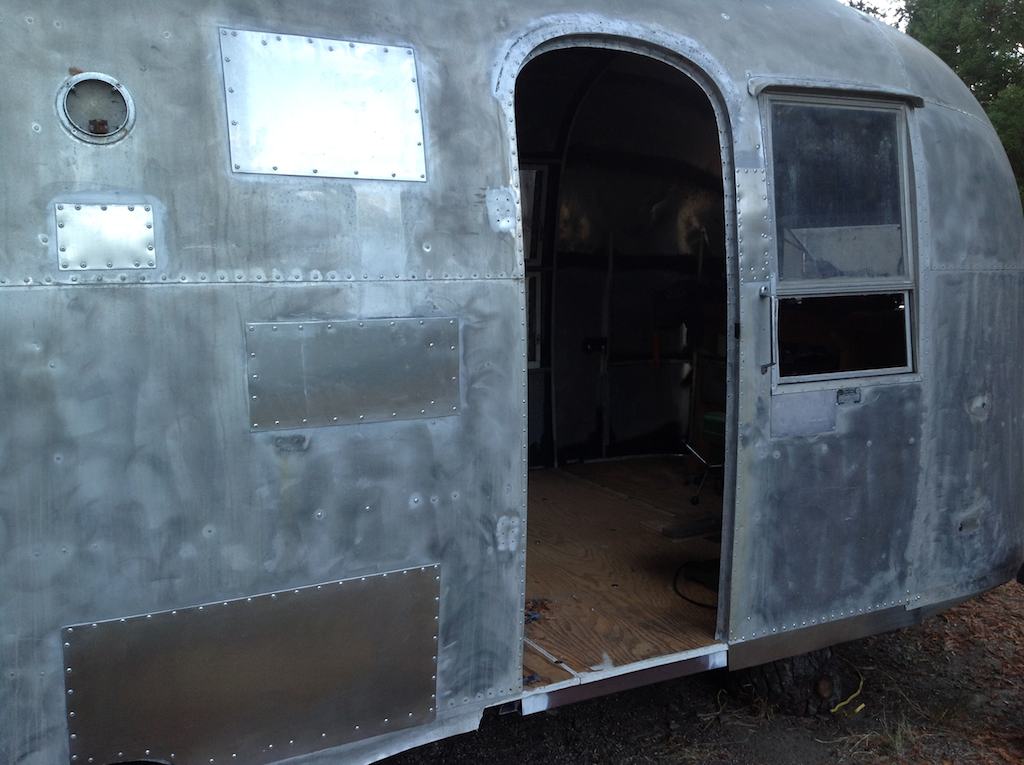
most of these where hatches for the appliances which are all gone now of course.
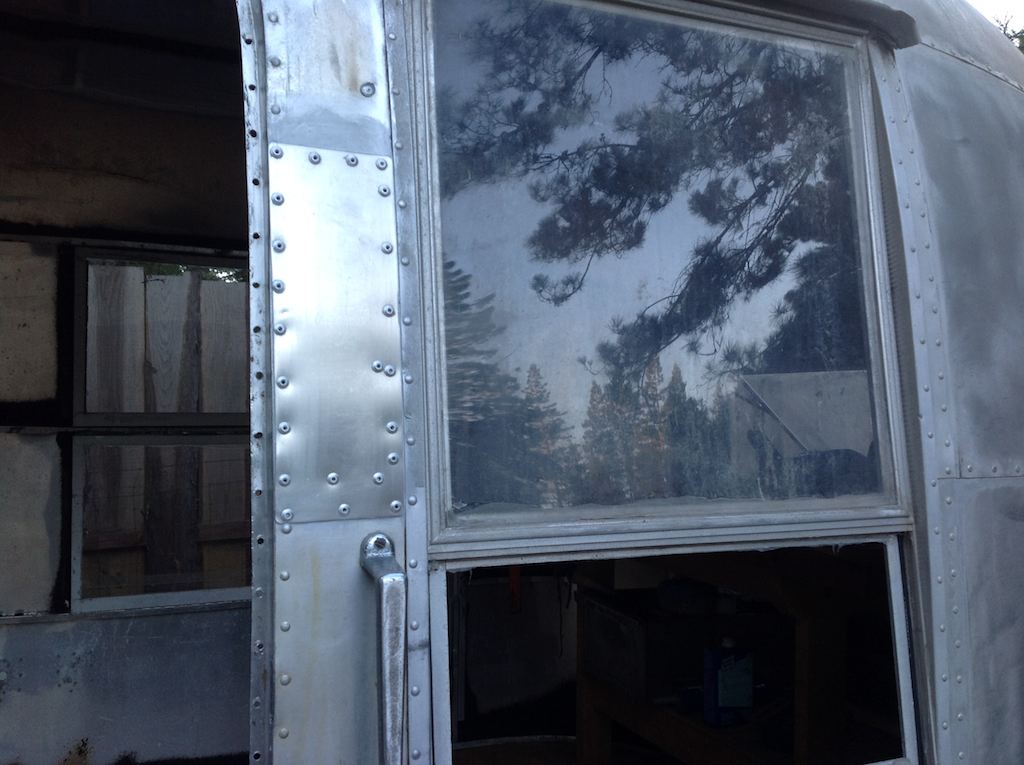
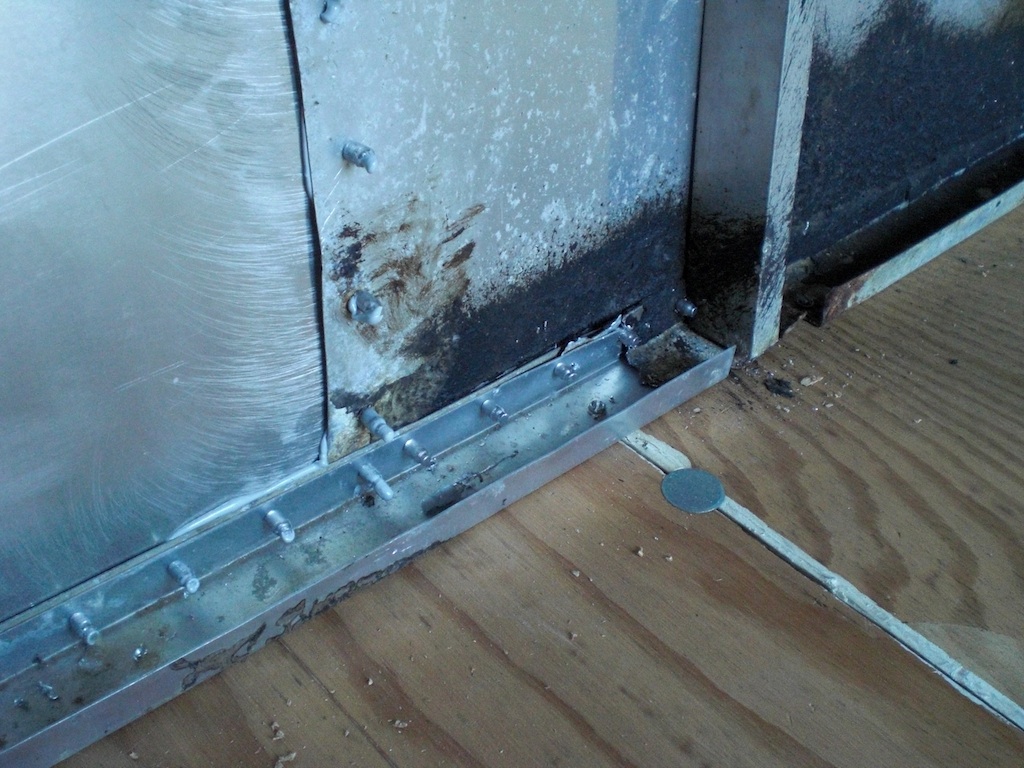
both sides of the door frame required complete rebuild of the footer and frame as someone apparently pried open the extra added locks. i’ve got the original door handle working again and that’s all i’ll likely do, locks are really only for honest people.
and this was hiding under some aluminum foil.
easier to replace the footer than to try and align all those rivet holes.
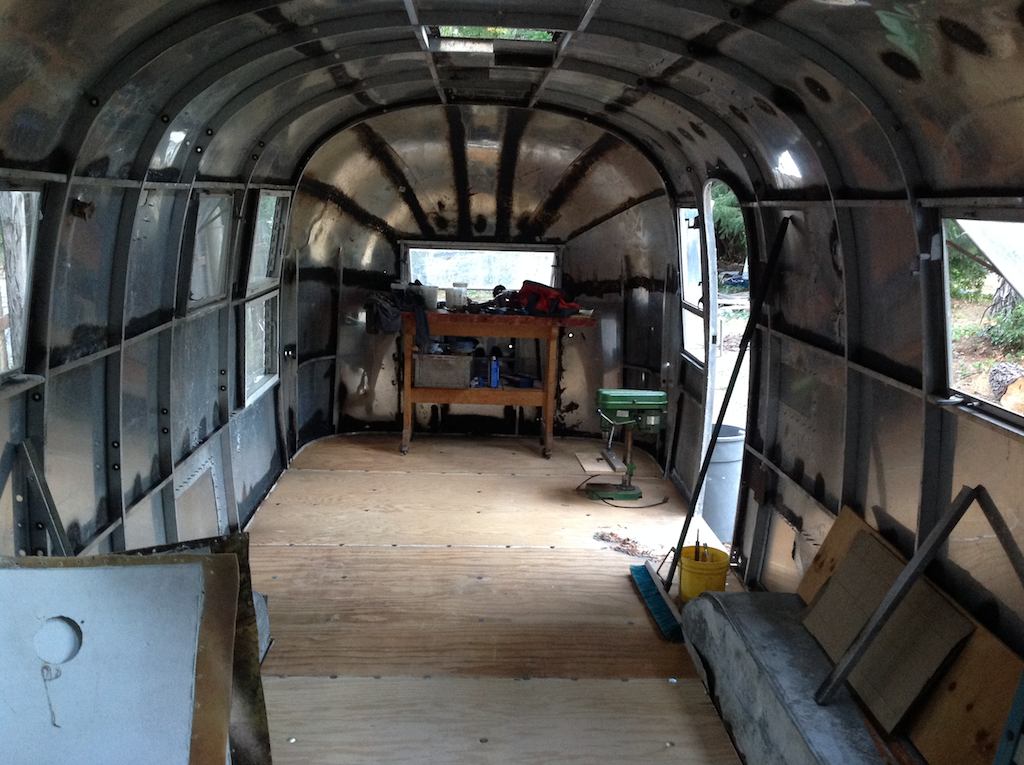
so excited about things coming together i even moved my bench in !!
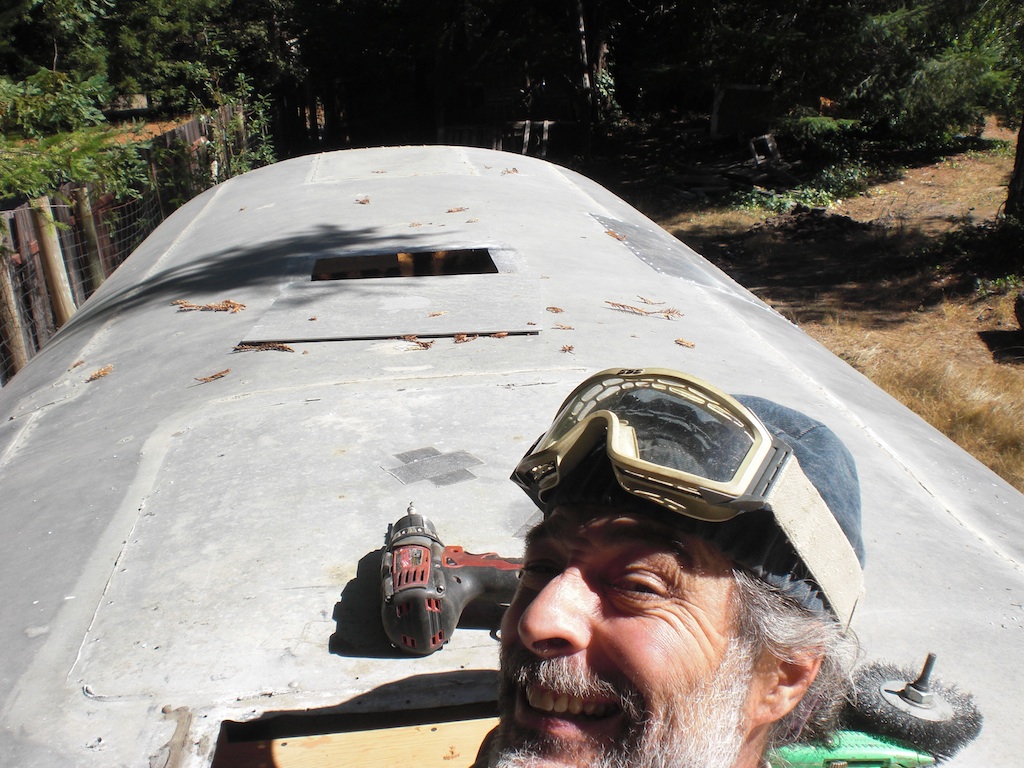
and now that all the walls are secured again, time to deal with all the roof issues.
i went to the burningmans and lit my Hare on Fire.
thanks to Michael Beattie for the pics.


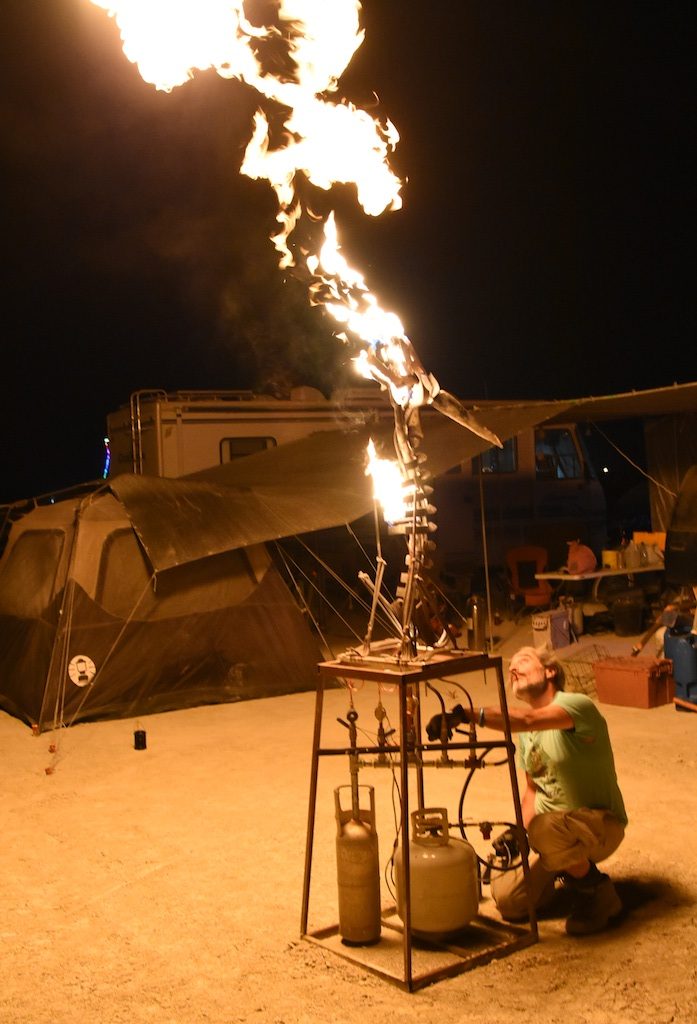
and once all working i attached him to the trailer i built in 2 days and we rode around looking for other fire till the LP tank went empty. 30 gallons of LP over 5 days.


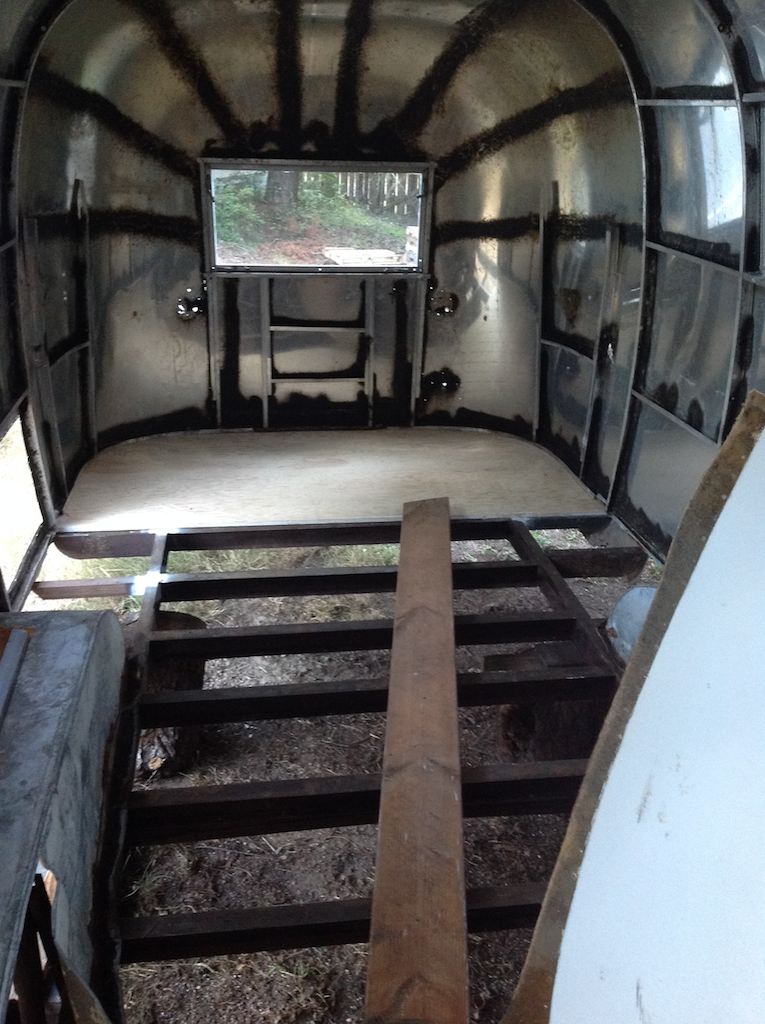
plywood is f’n expensive these days, shylocked the last three sheets, called a sundown deadline on getting the floor in, done.
i added a stringer across the 3 foot stretch, must have been a tank here they left out any support under the shower or something.
and the drain required a notch cut in the frame. not sure if this was a factory thing, might weld a replacement gusset, but for now at least the floor is supported.
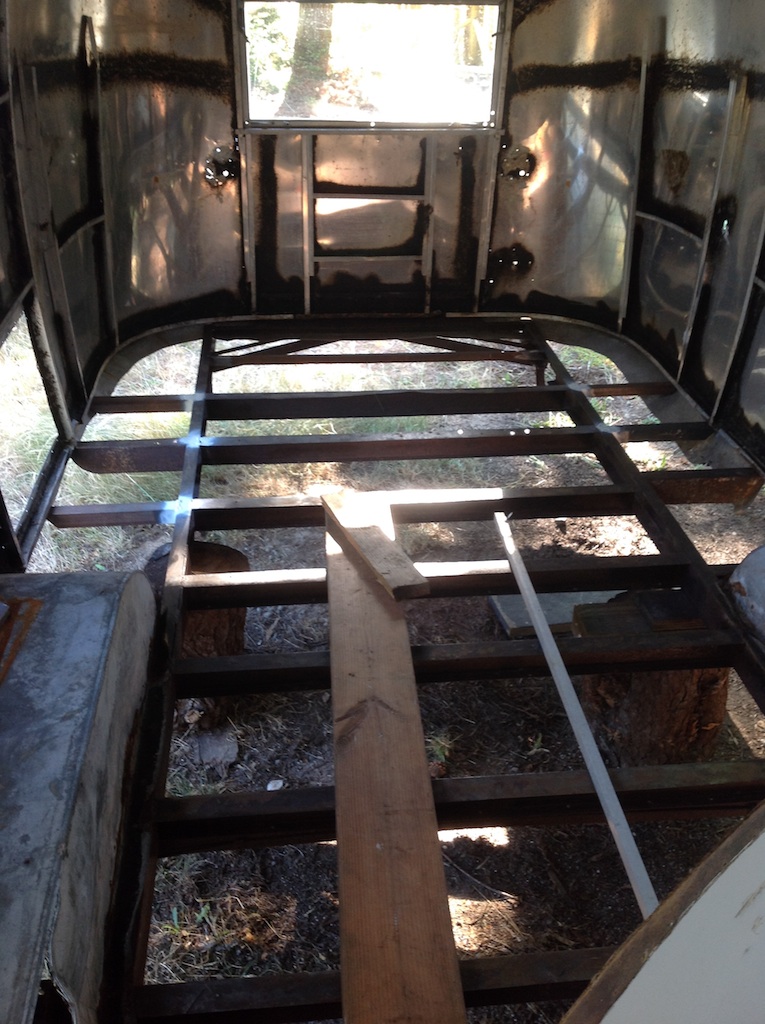
ok, i think we’re ready to sheet.
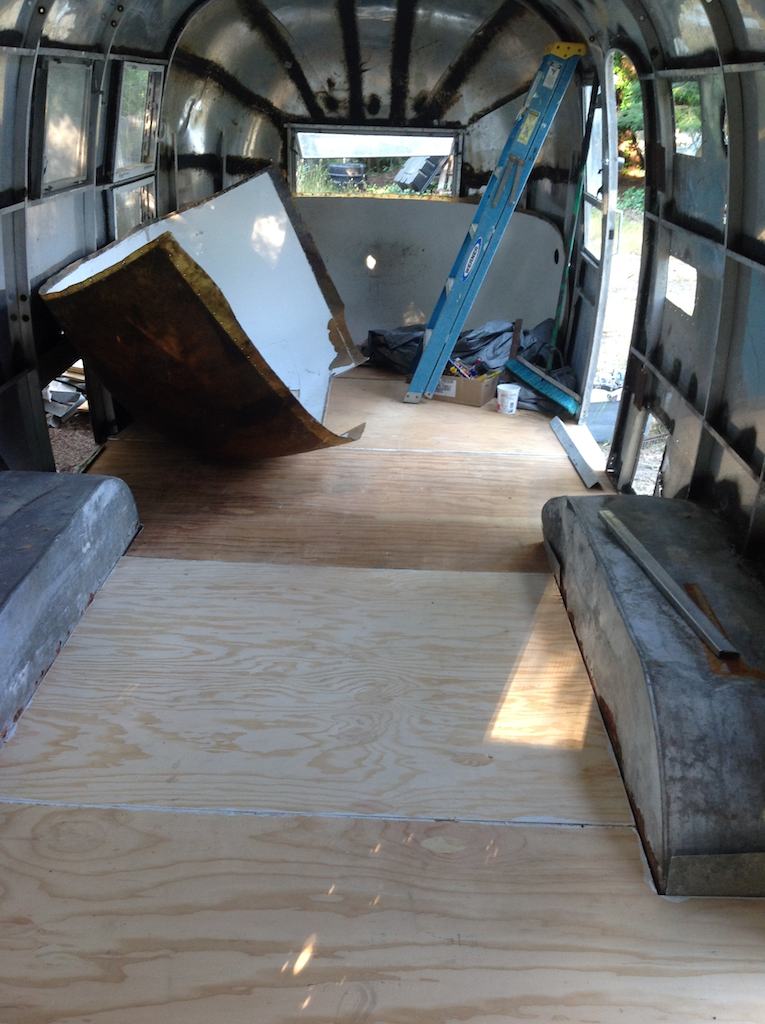
hardest one in. yes, it goes 1.5″ under the wall channels. lets just say “bigger hammer” kept playing in my head.
measuring from back to front, there’s 1/64″ delta side to side. might work.
how i got the second piece in is a trade secret. popeye would have been proud of both my bashing and cursing. the center piece between the wheels required all my “negotiation” skills to squish everybody in snug.
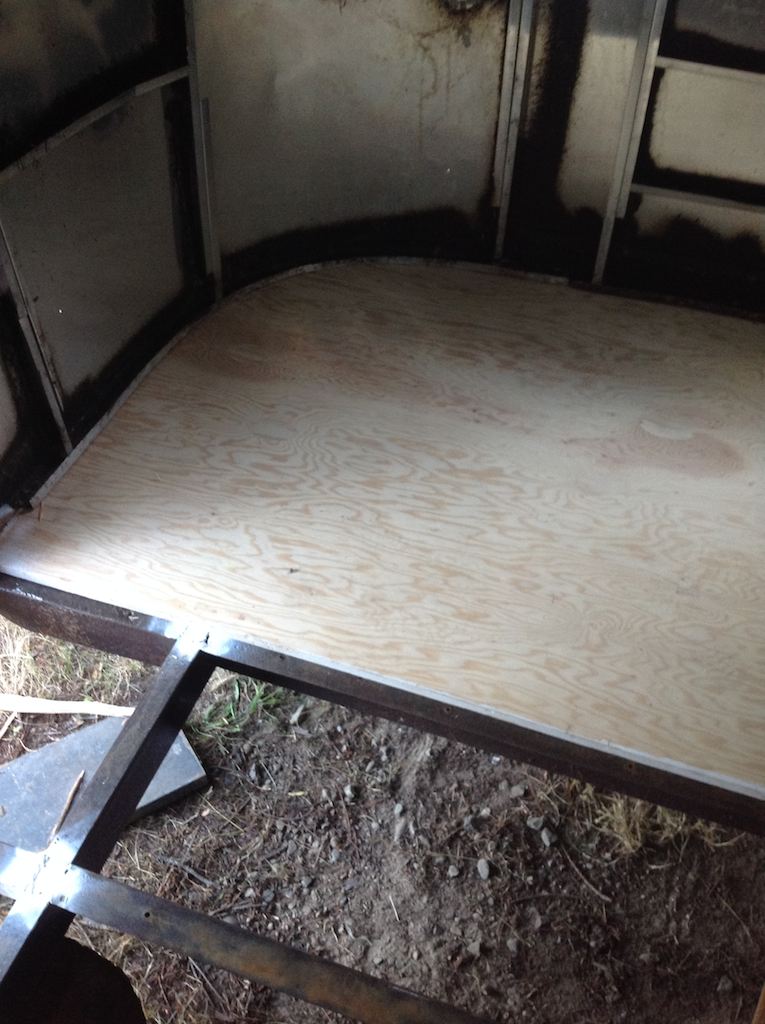
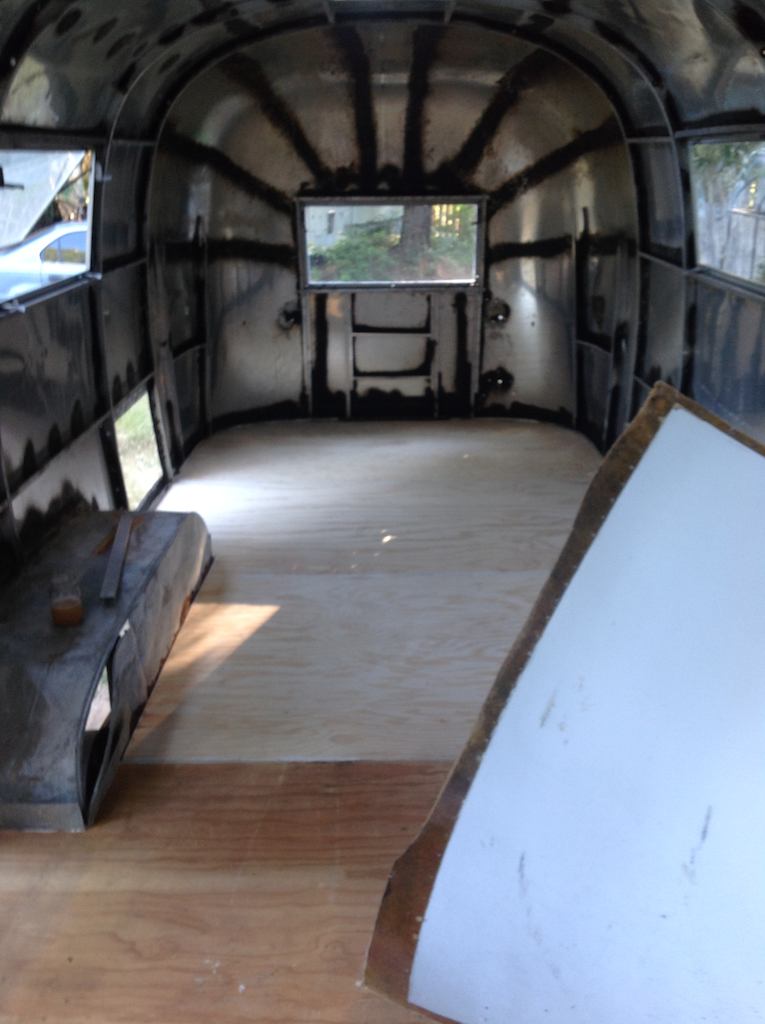
tada! aprox 24′ x 7′ of shop space now has a floor!!! still have to drill and bolt everything down, and maybe some more negotiations here and there, but ima gonna call this project officially “over the hump”.
i was told a complete re-floor could not be done without removing the shell completely. i’m rather pleased with how well (get it? wheel well?) this actually worked out with the shell “floating” on the front and rear end sheets and wheel wells.
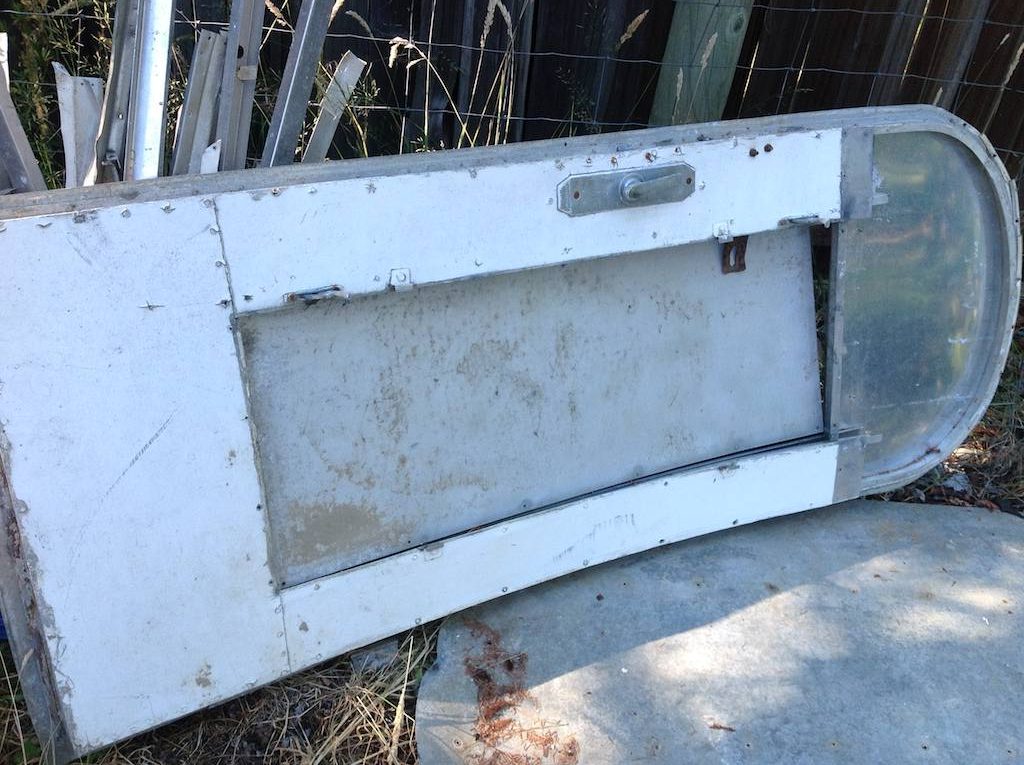
found the door again. there isn’t a snug rivet in the whole assembly. i think my future has a lot of drilling in it and take it all the way down to the pieces.
looks like my last burning man was last year. to seal the deal, these showed up. make a wish, burn ’em.
As Above, So Below.

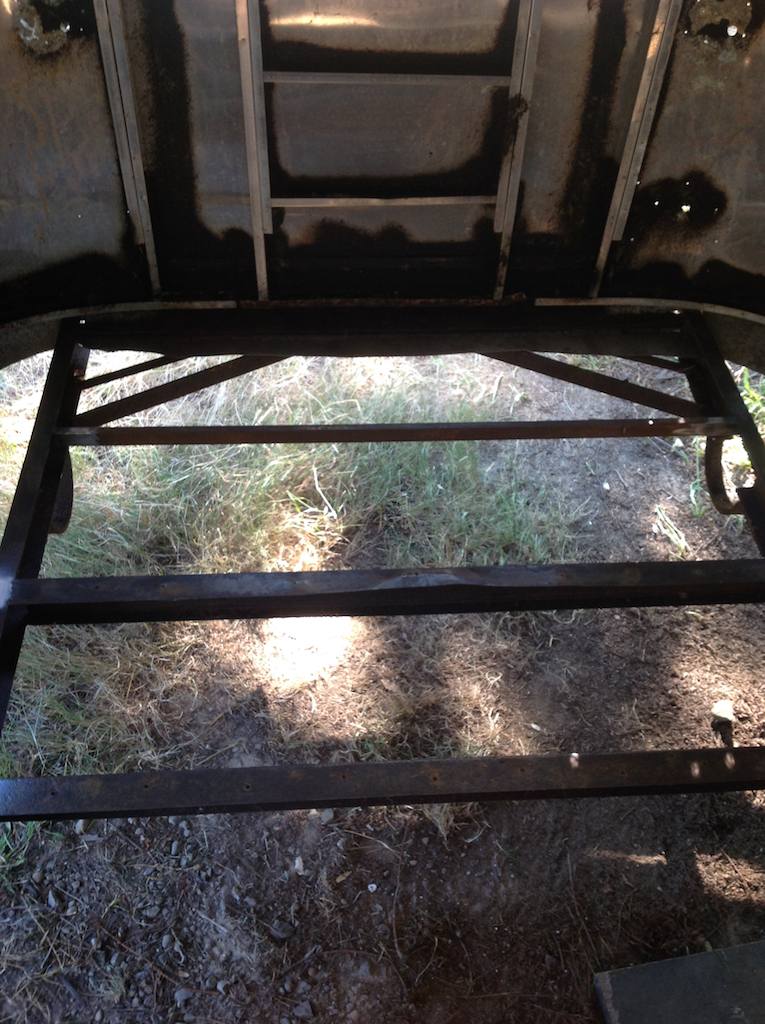
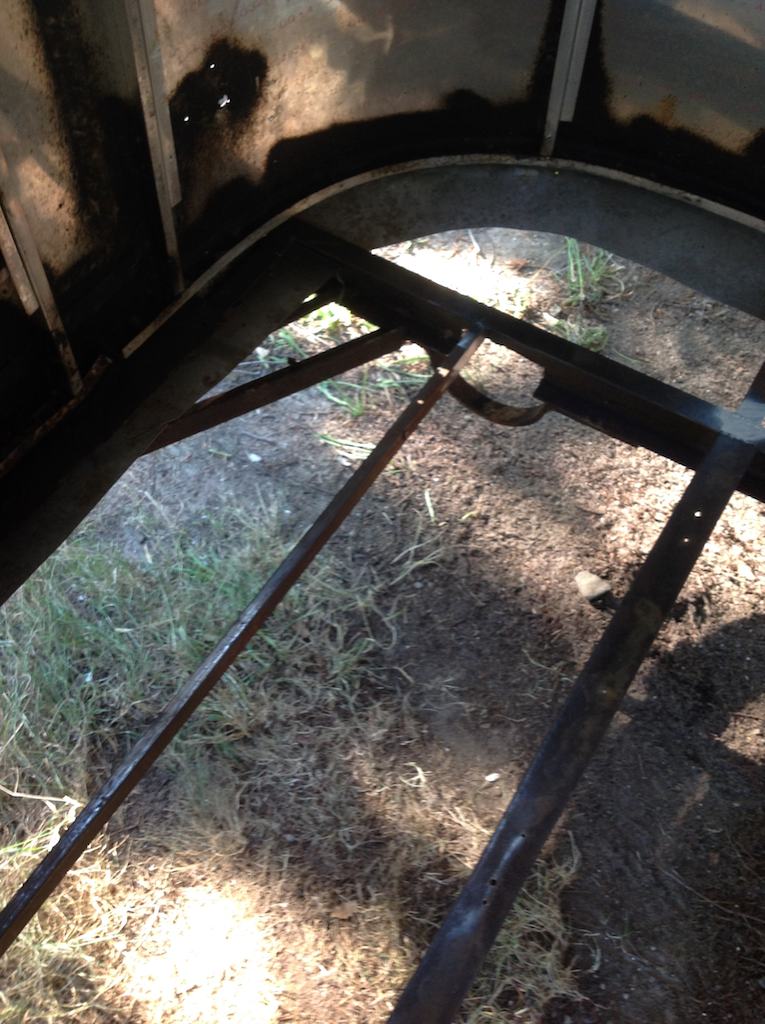
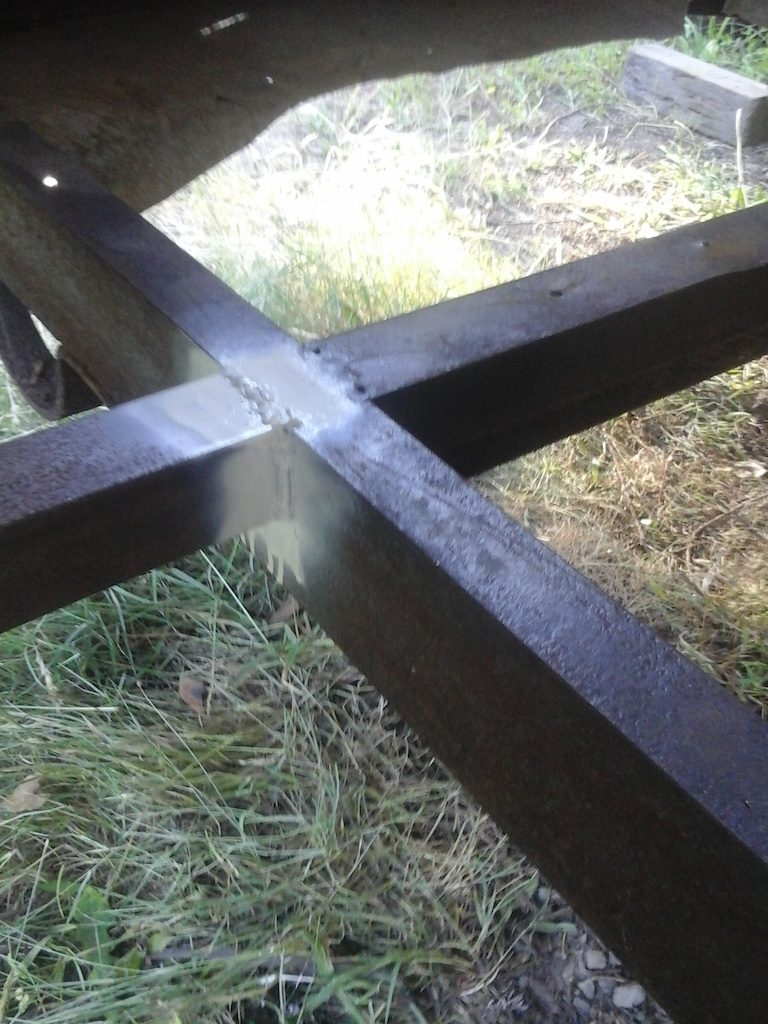
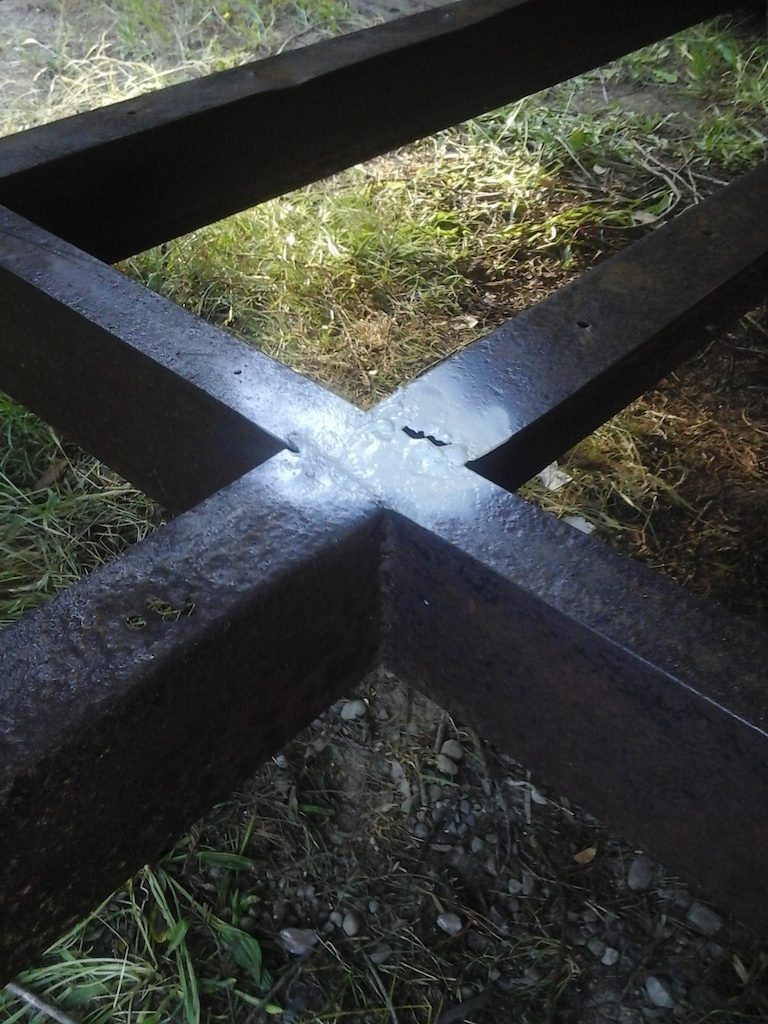
so looks like the rear frame had some rust and bad-installer damage. the outrigger pieces hold the shells weight so need to be somewhat integral. i cut out 2 damaged ones, replaced 2, and added 2 more in the back.
one of the new outriggers in the back.
this one the center stringer was “torn” loose at the top weld. not exactly a quality job, but re-welded enough to BE STIFF.
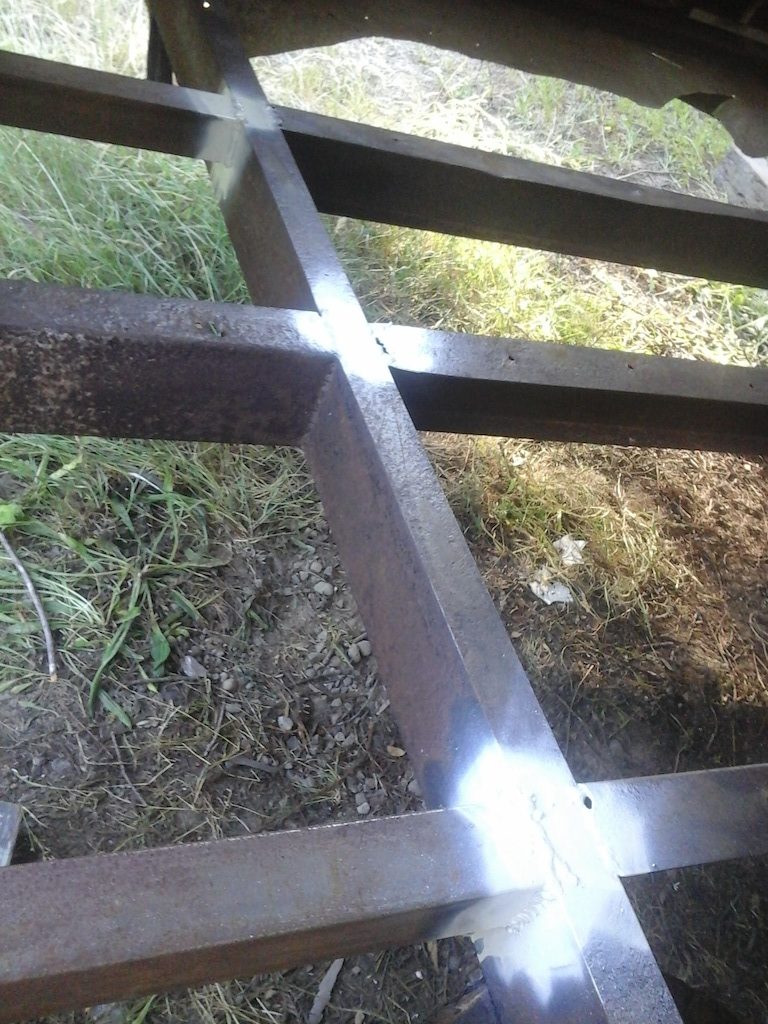
replaced, repaired, modified, bones DONE !!!
now just need some cash for more plywood :)
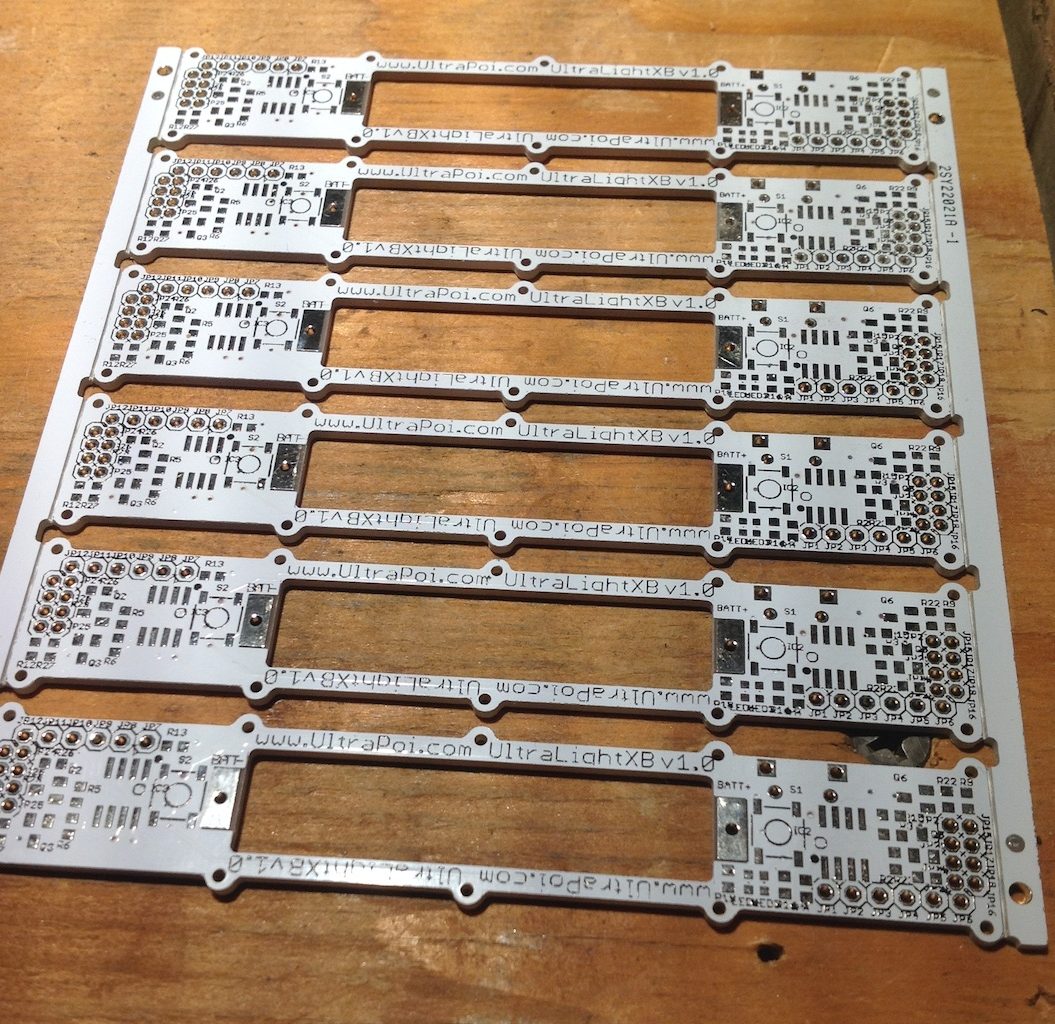
more a re-design than a scratch design, but still had to push the same amount of pixels and solder. you’ll see these on the market soon, till then here’s the “factory proofs” with some double-check their Q with my A.
hella bright blinky disks.
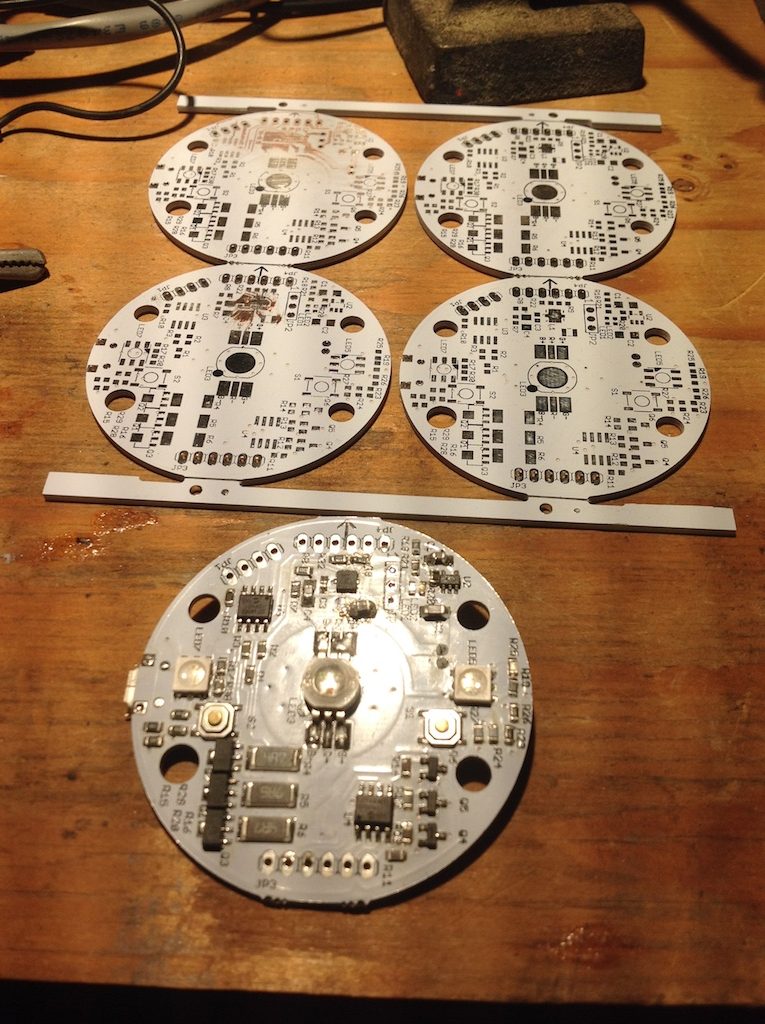
ultra cool glow sticks,
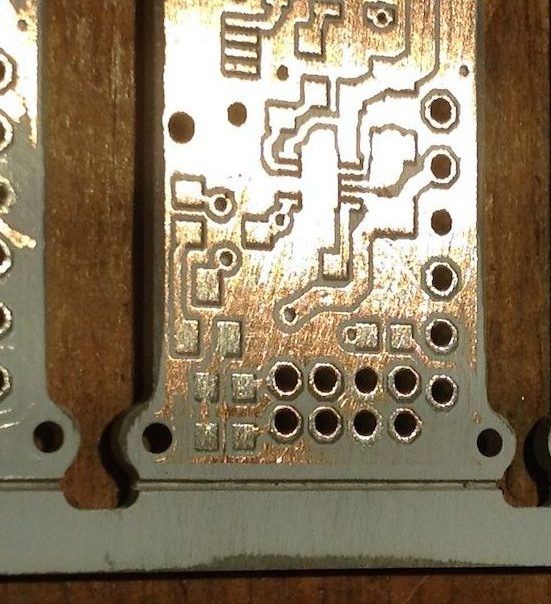
and sometimes ya just gotta check how good they printed by removing the top screen print to expose the copper traces. modern SMD parts are sooooo damn tiny in sub-milimeter kinda tiny.
front is floored, door frame is all drilled out,
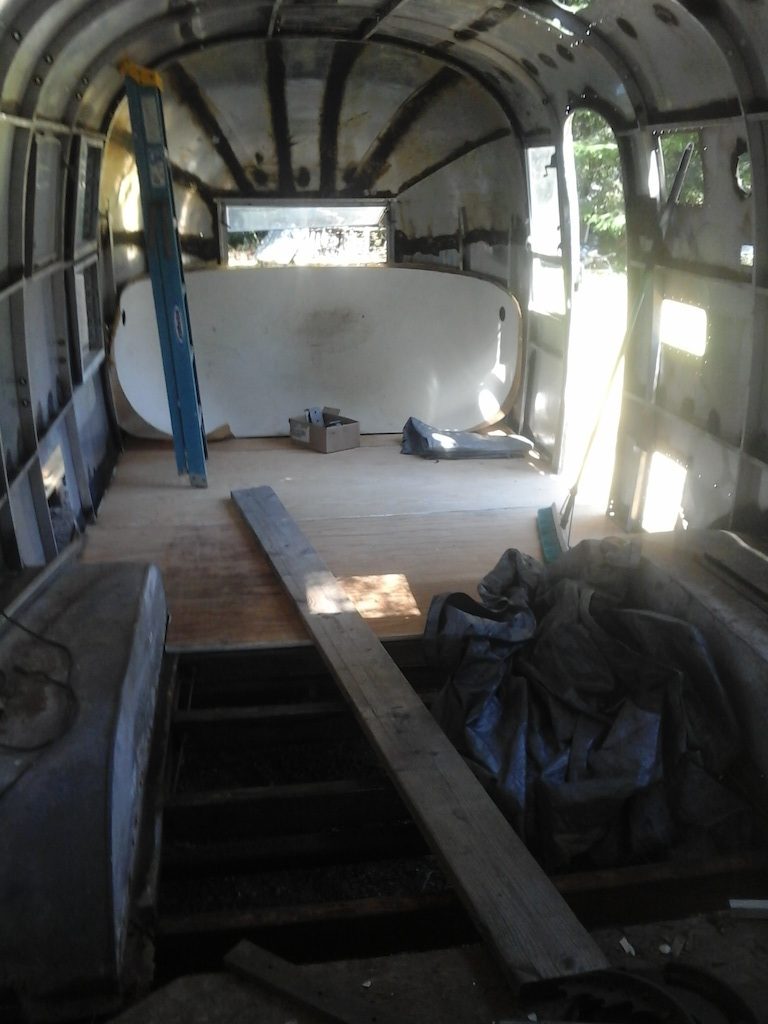
first go at patching all the little holes, and a few not so little holes, closed-ended aluminum pop-rivets, working from the front to the back,
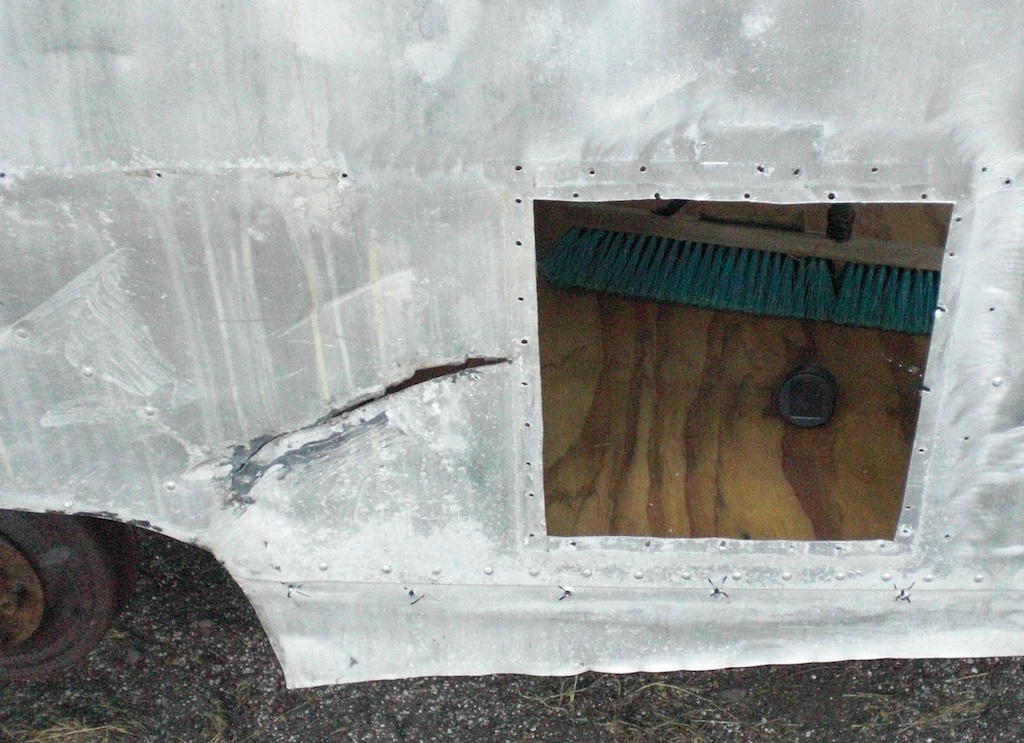
now it’s time to rip out the ass of this project.
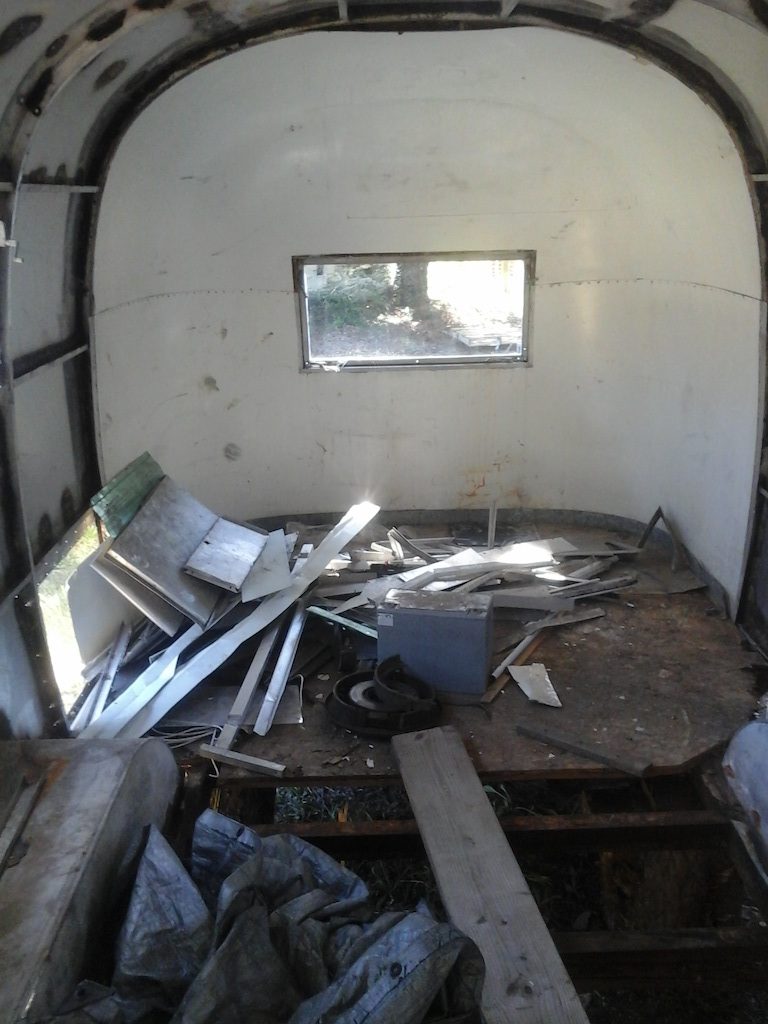
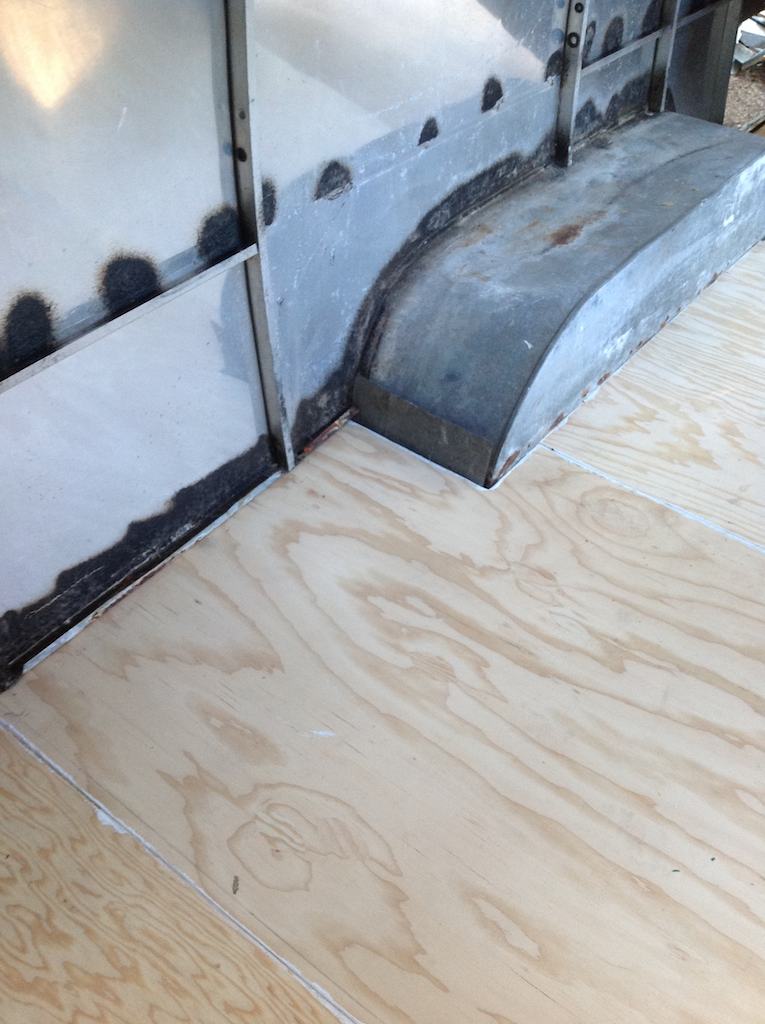
previous owner covered the floor with chipboard, that did not go under the shell, not even all the way to the edge even!
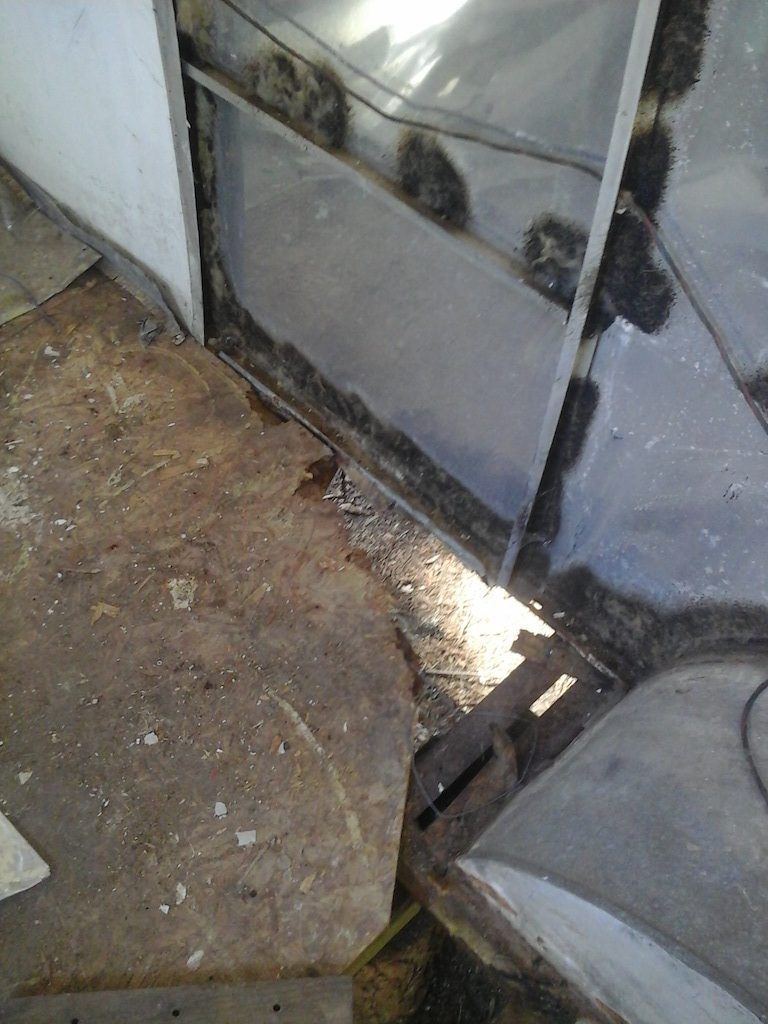
the whole back end of the trailer is held together with the galvanized sheet floor cover and a few rivets in the steel side trim piece. there is no wood connecting the shell to the frame, just this galvanized finger trim.
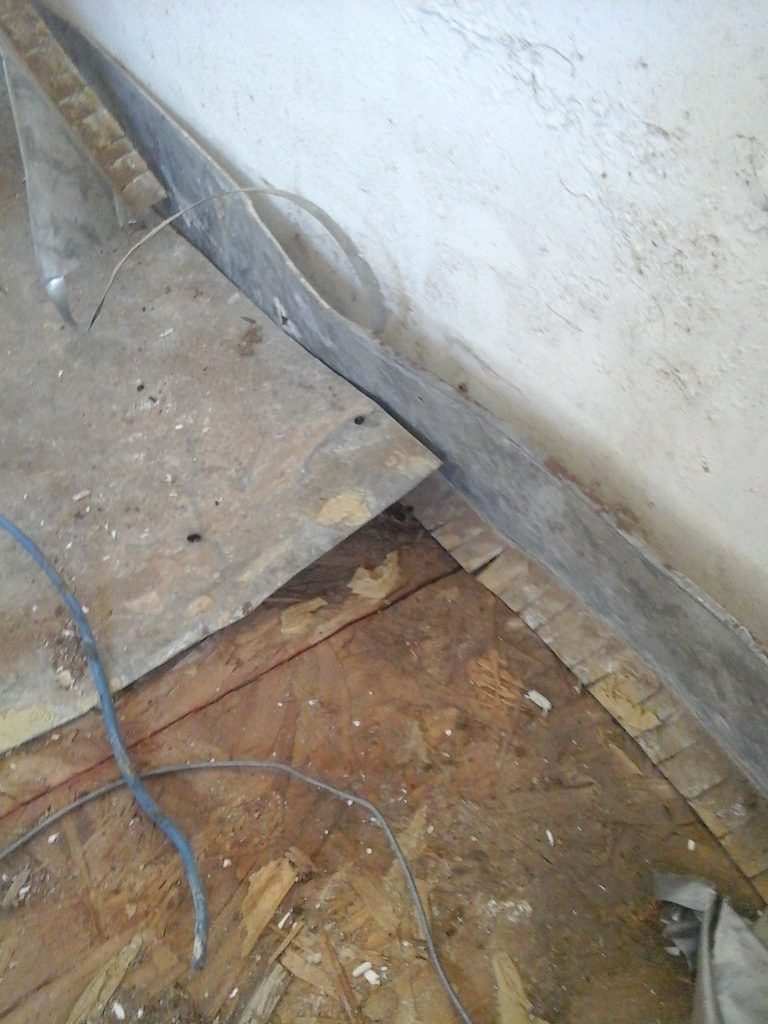
at least it will be easy to remove!