End in Sight

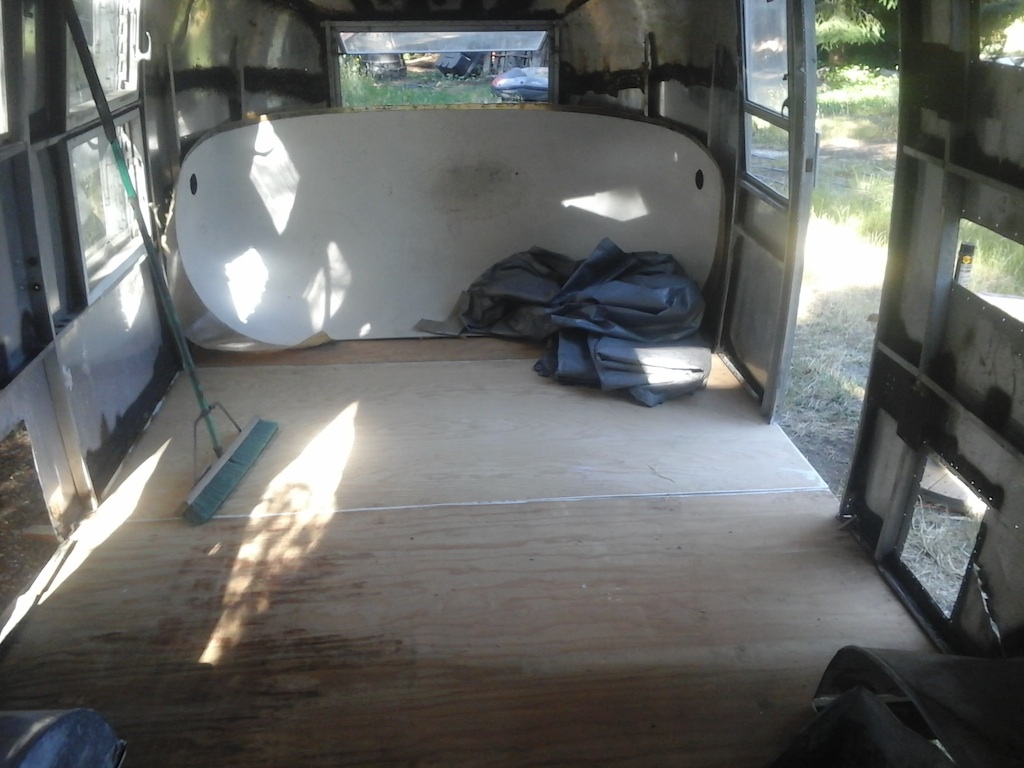
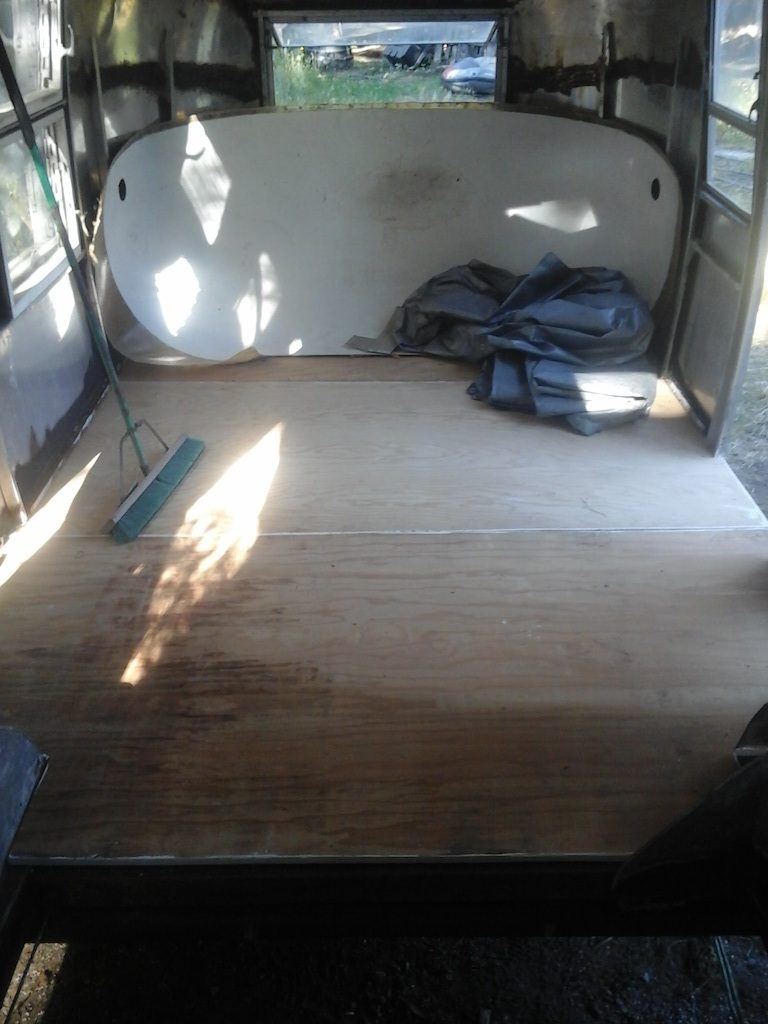
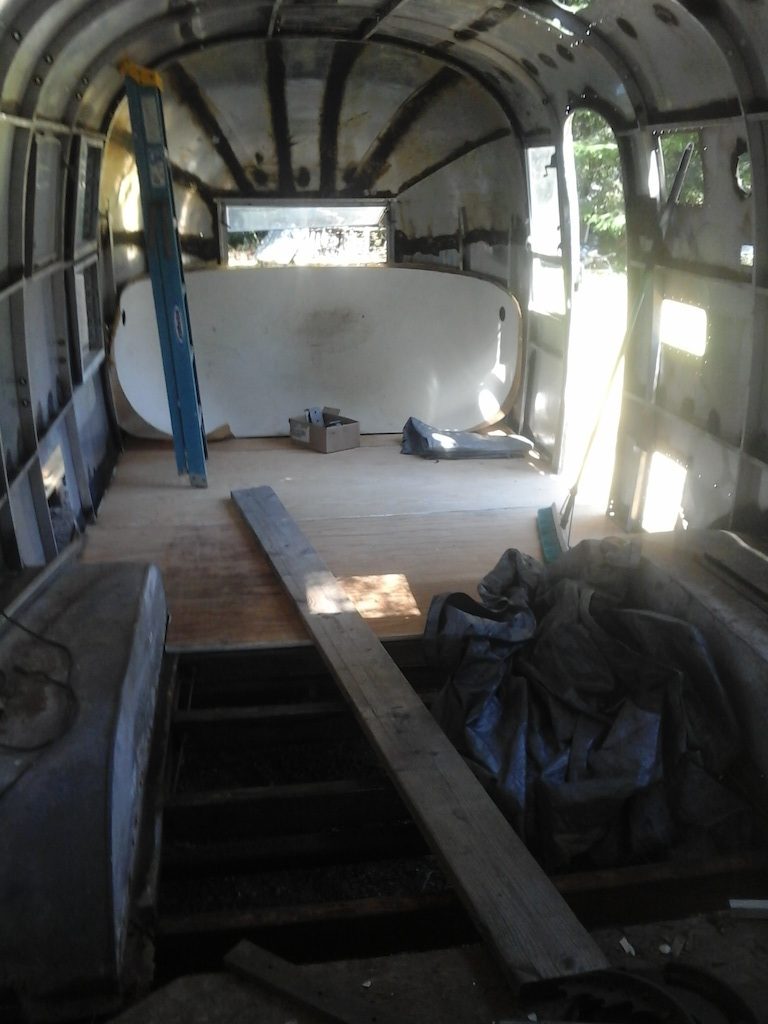
front is floored, door frame is all drilled out,

20170625_161043

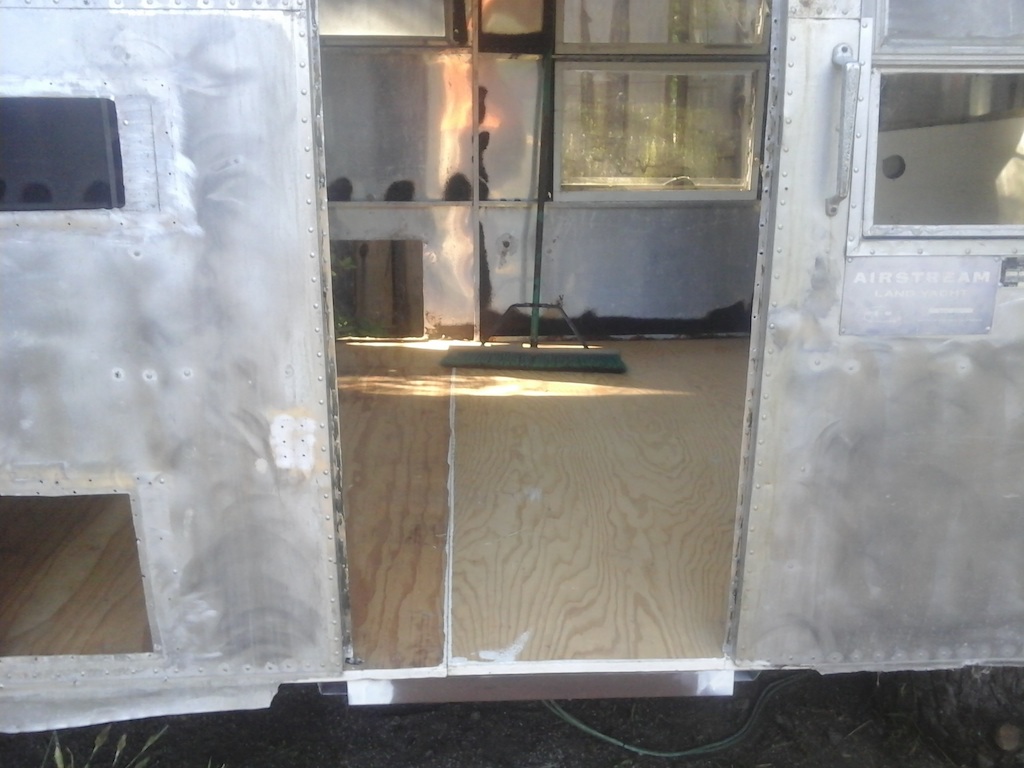
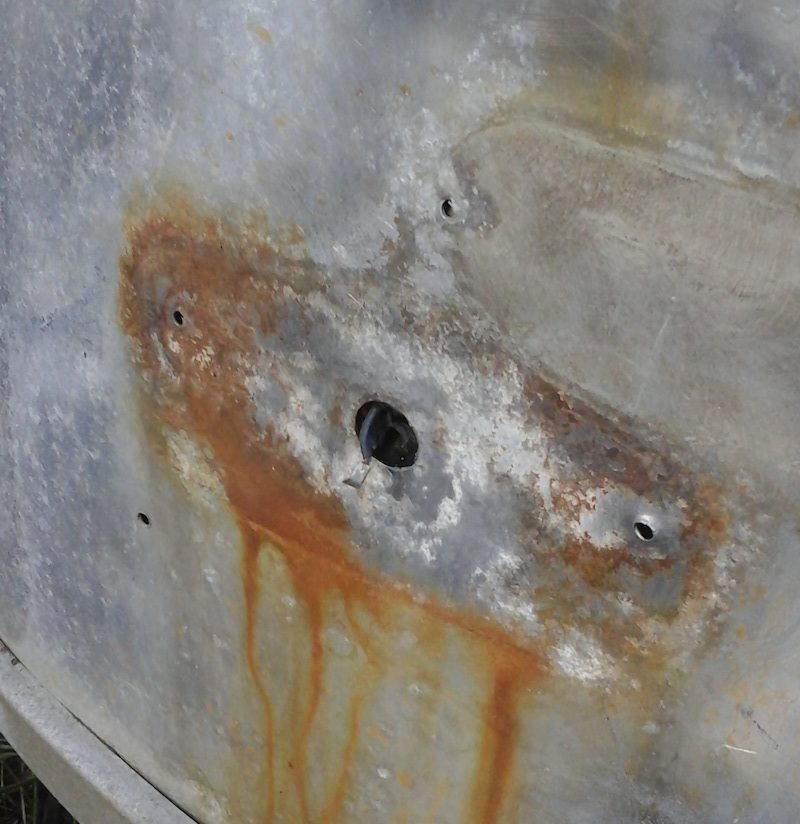
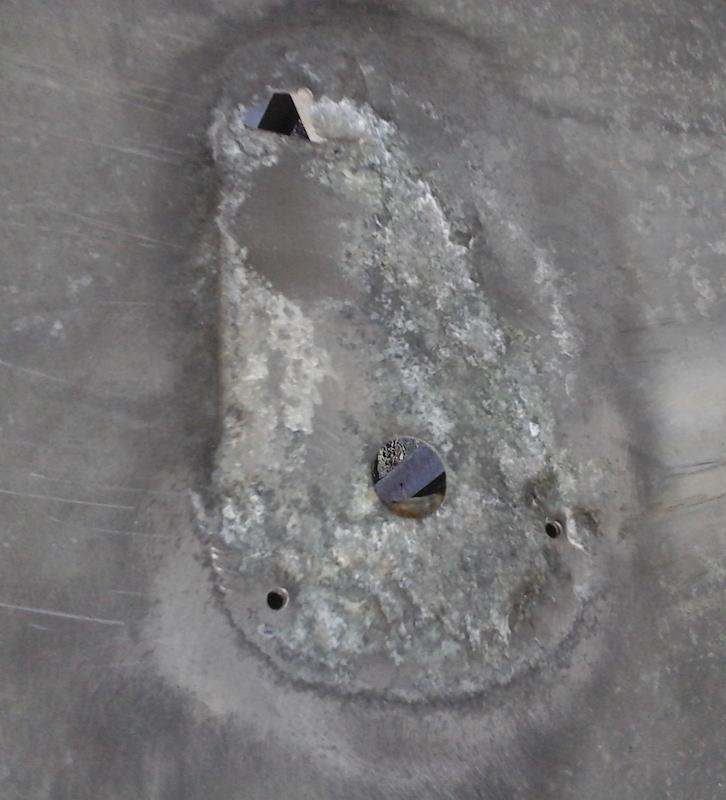
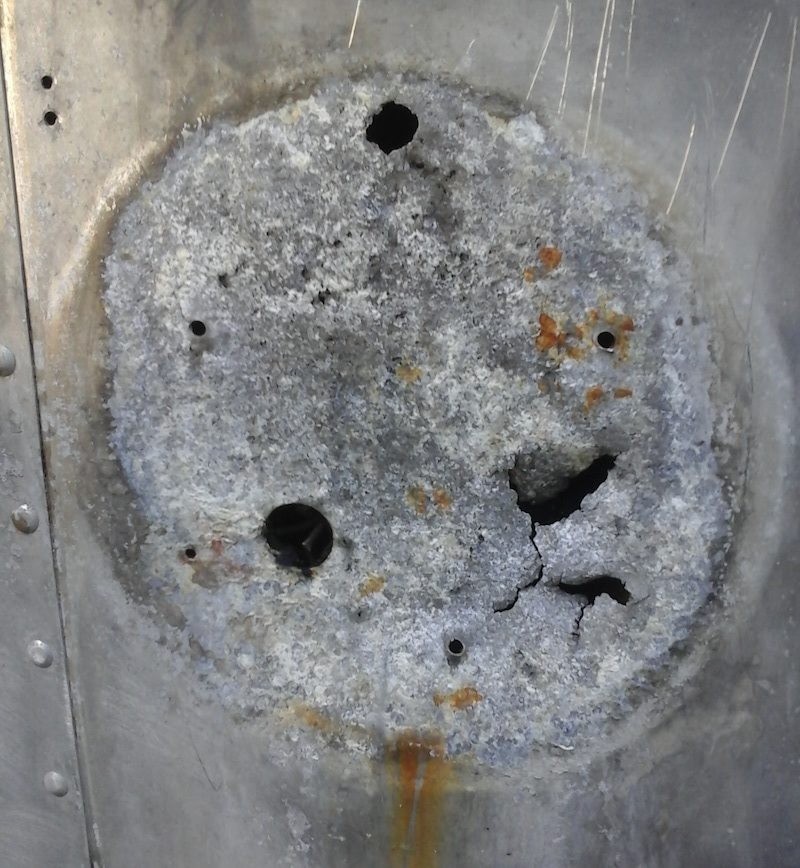
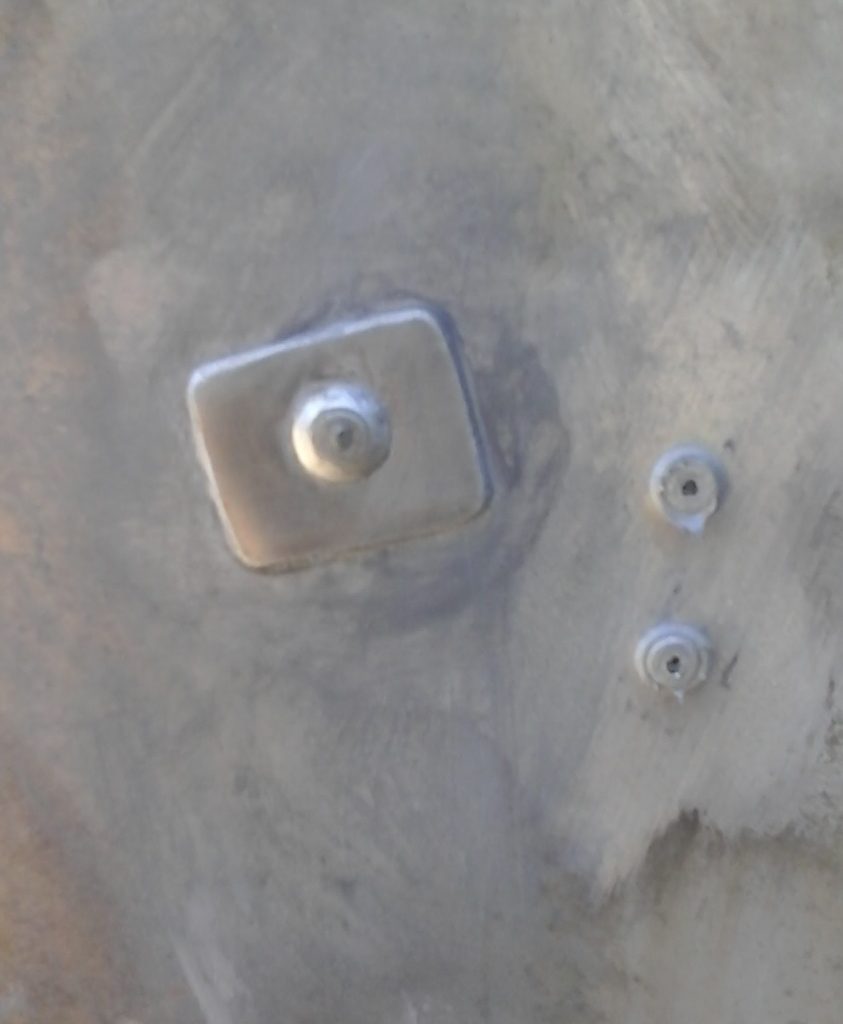
first go at patching all the little holes, and a few not so little holes, closed-ended aluminum pop-rivets, working from the front to the back,

20170625_160712

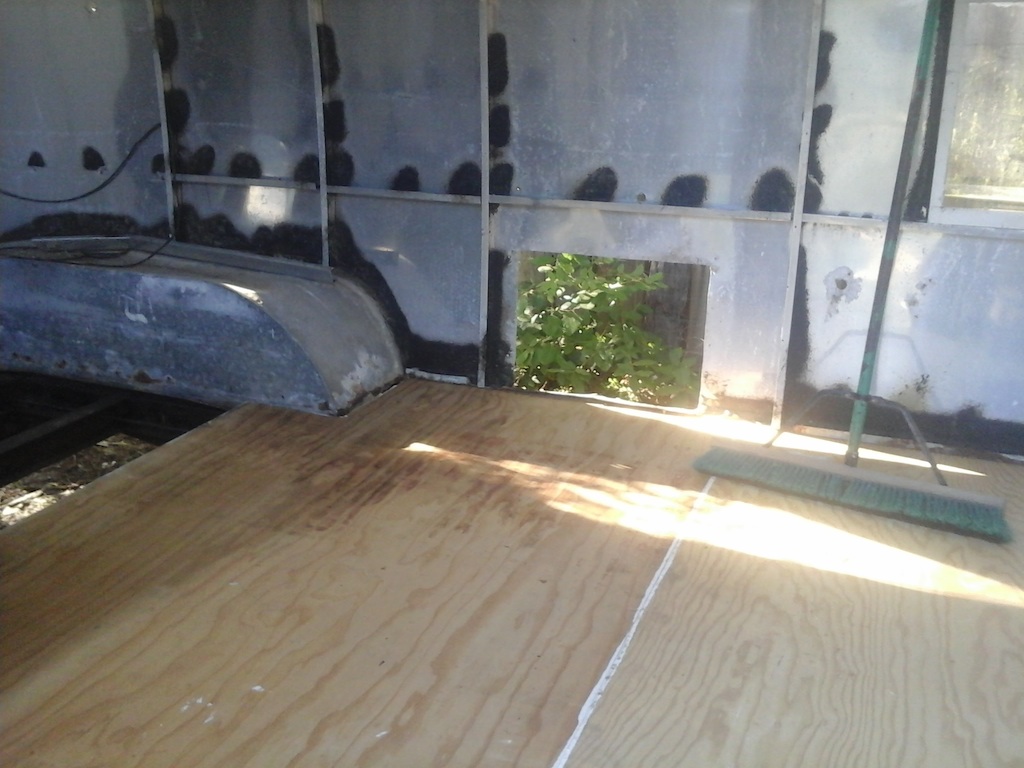
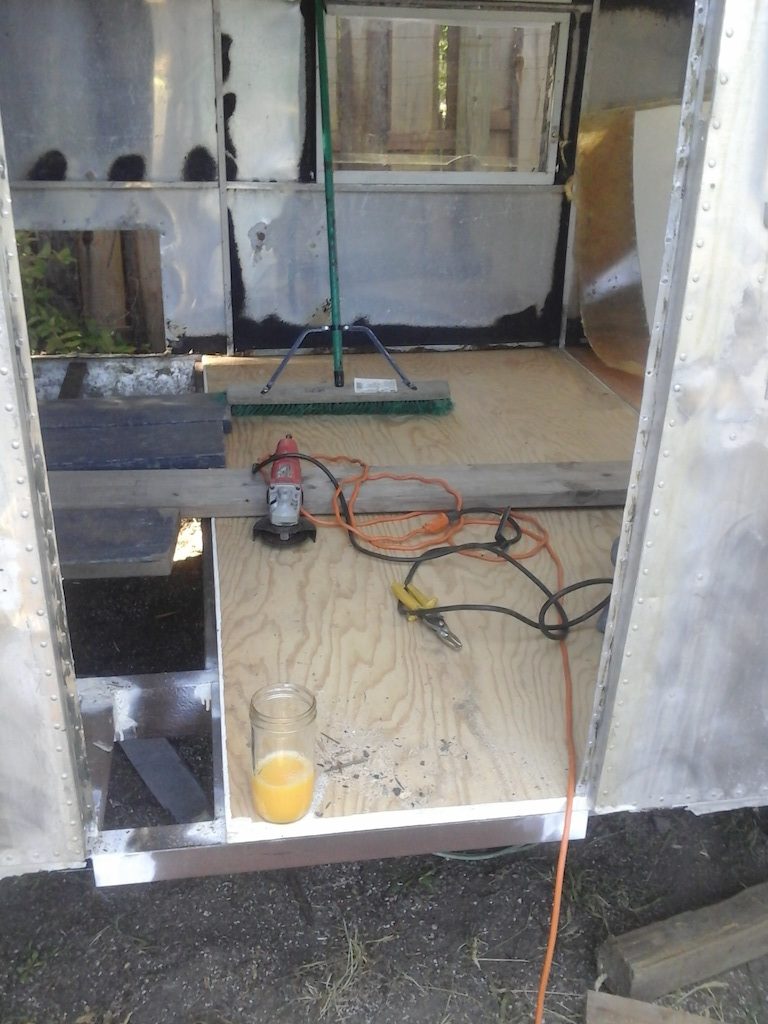
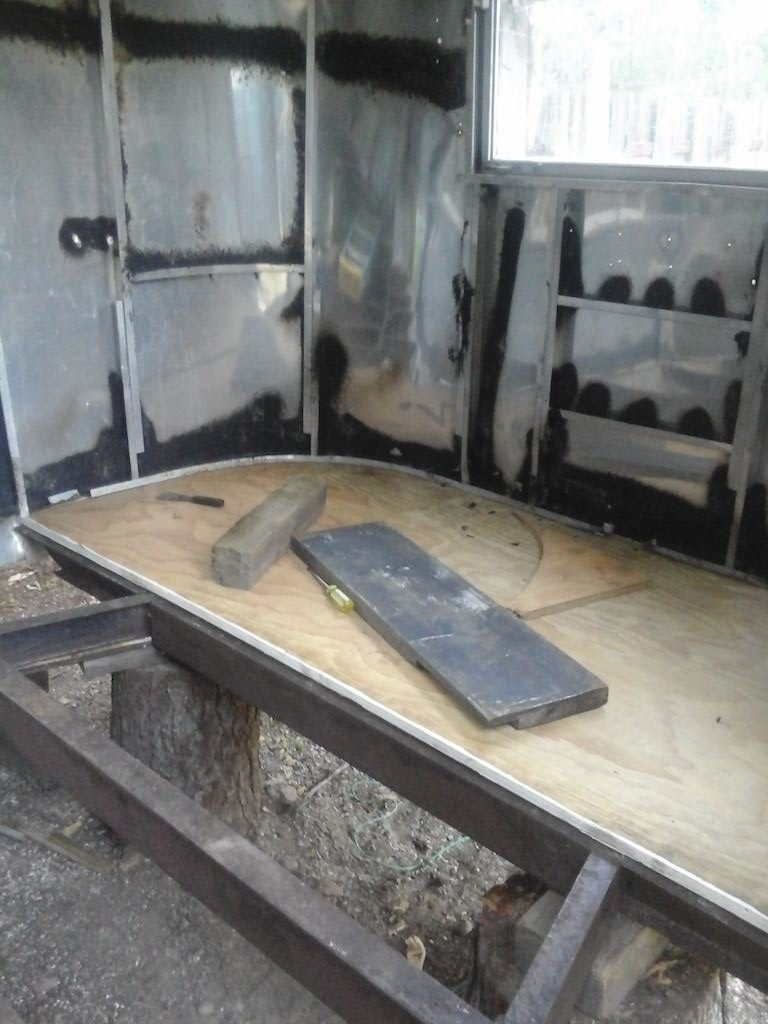
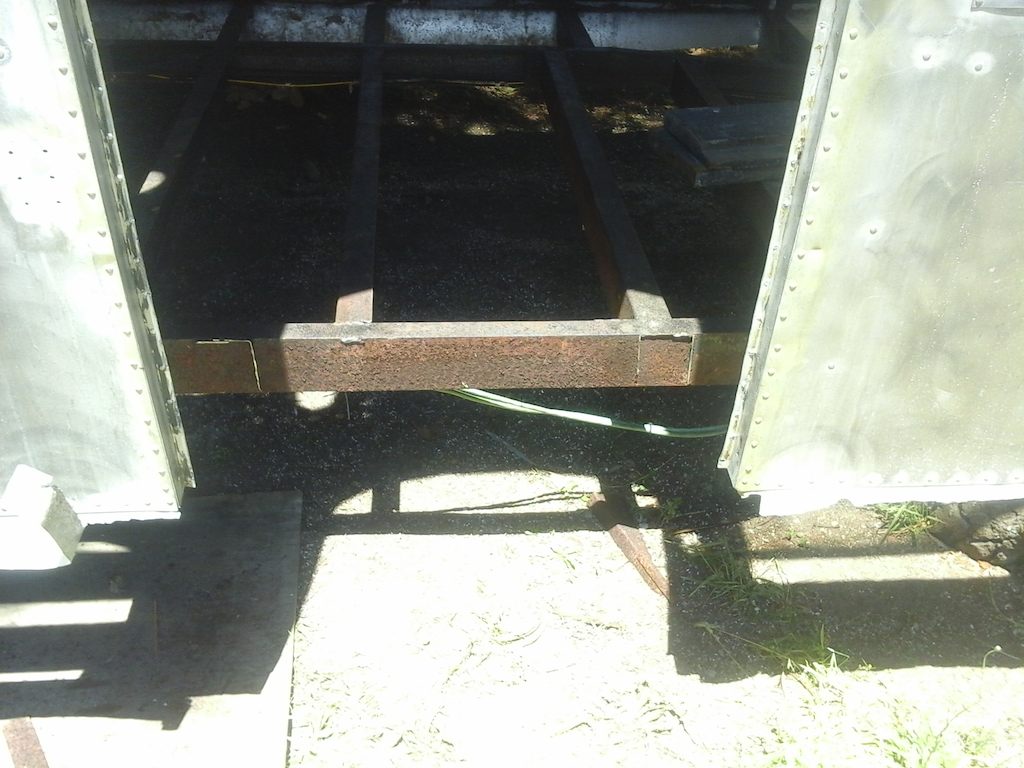
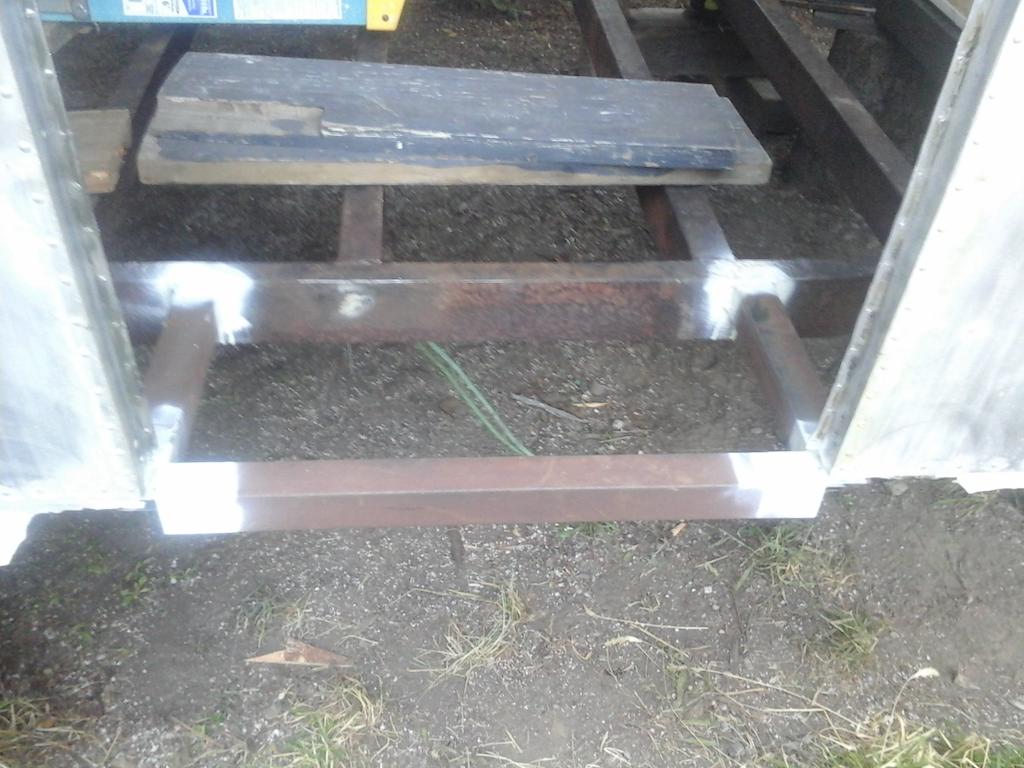
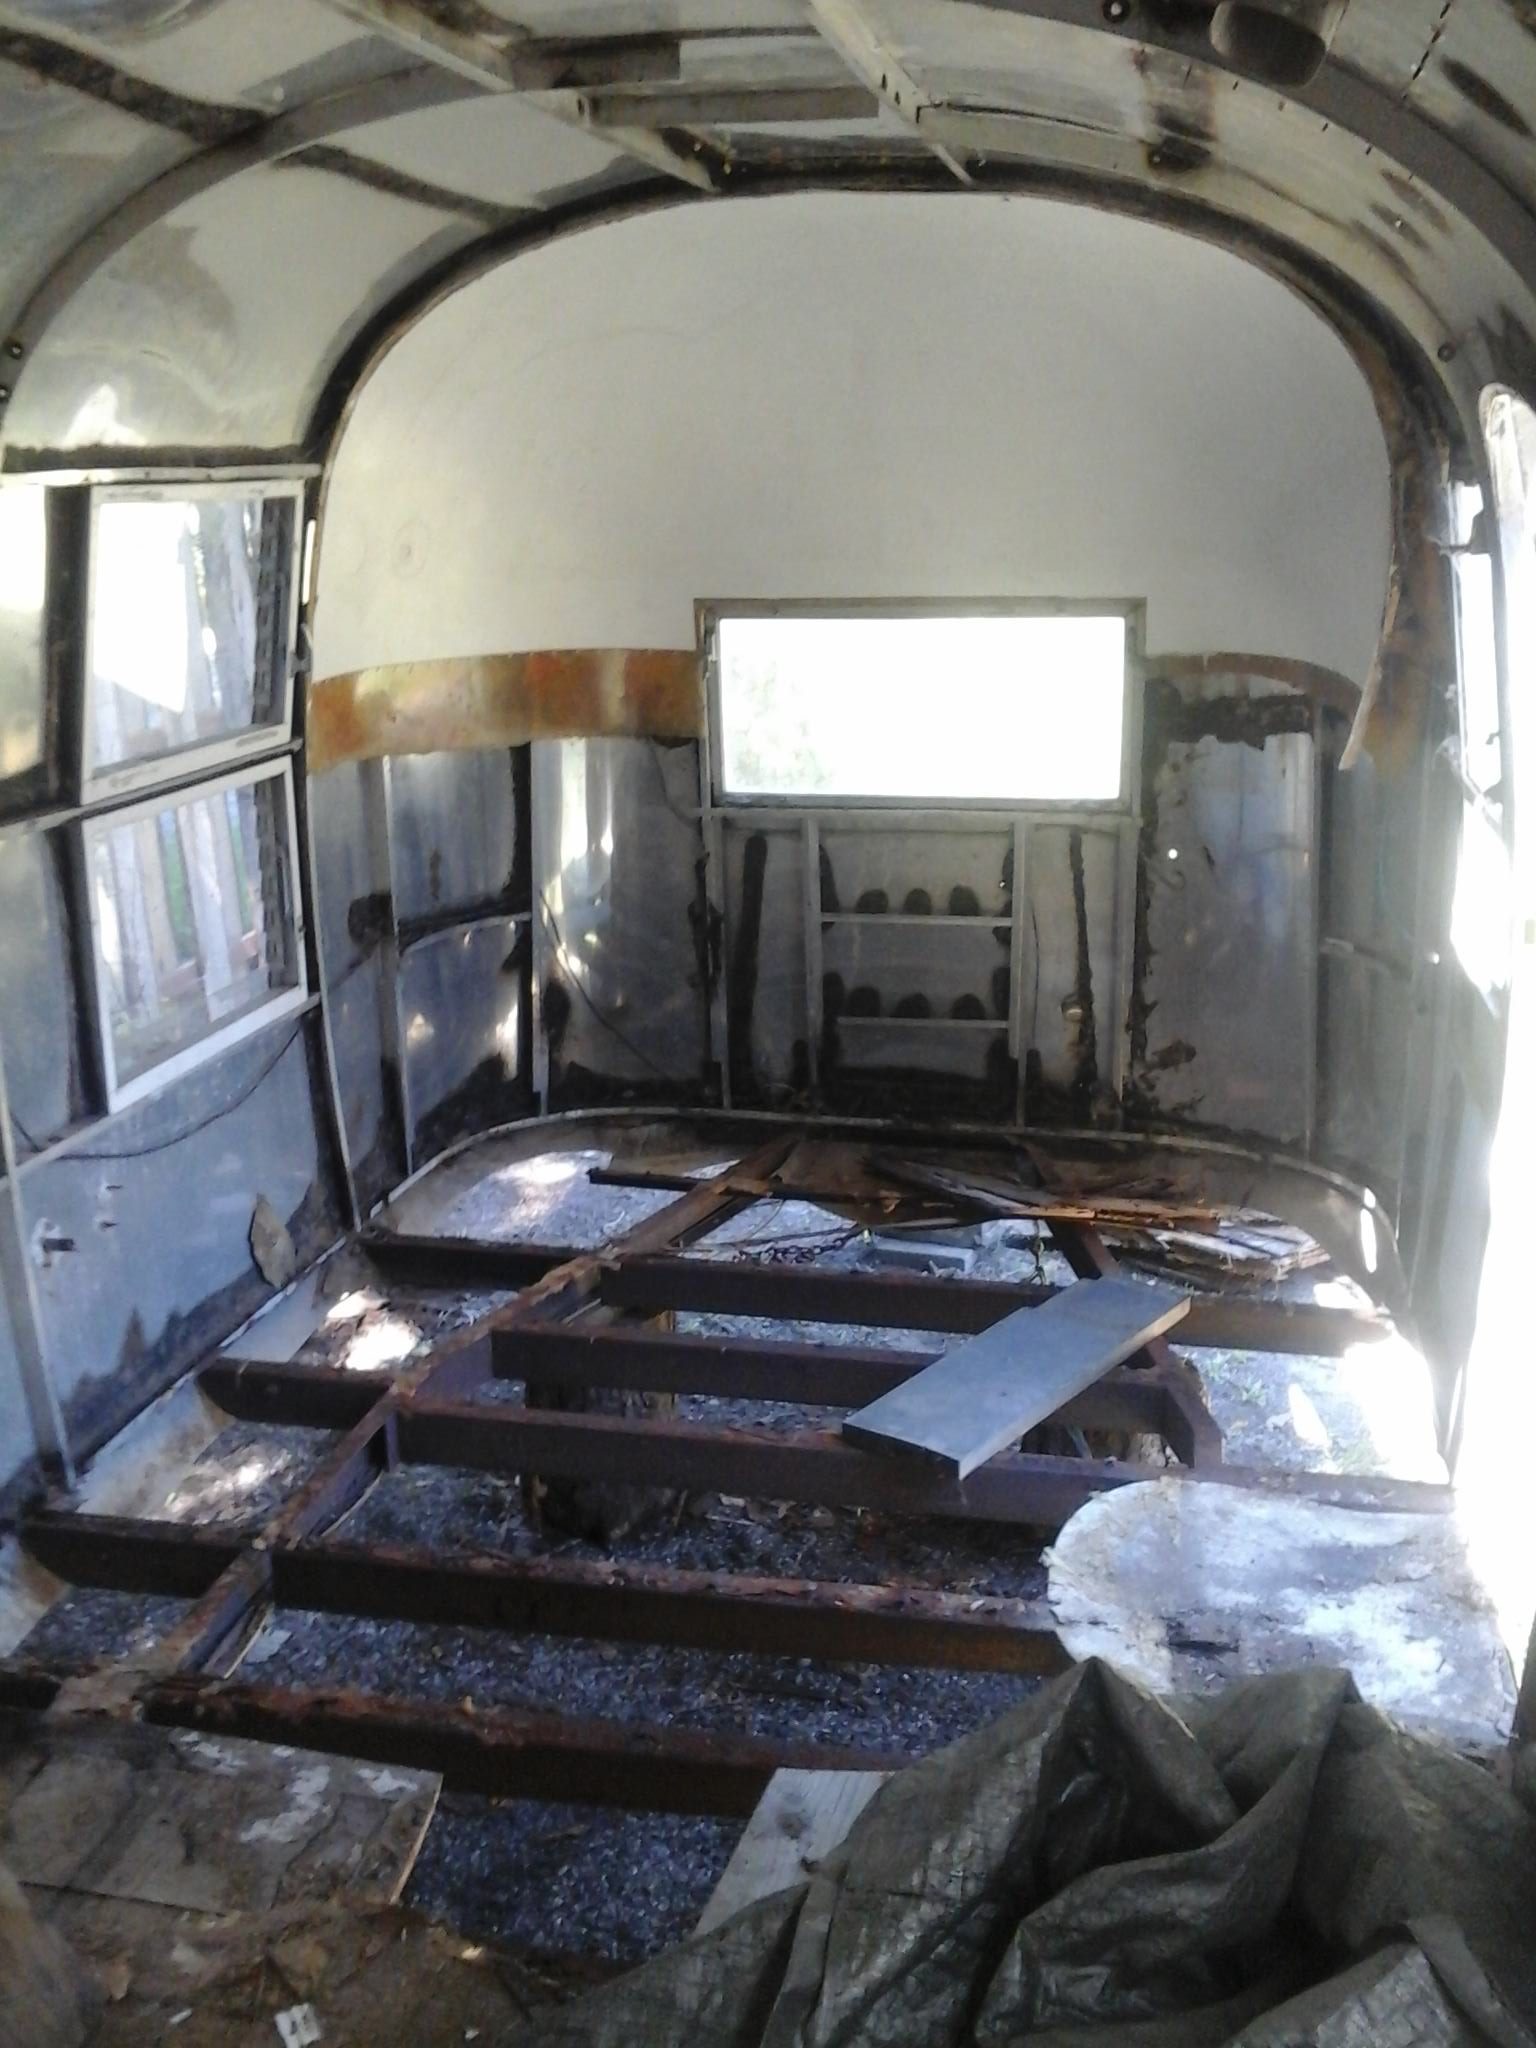
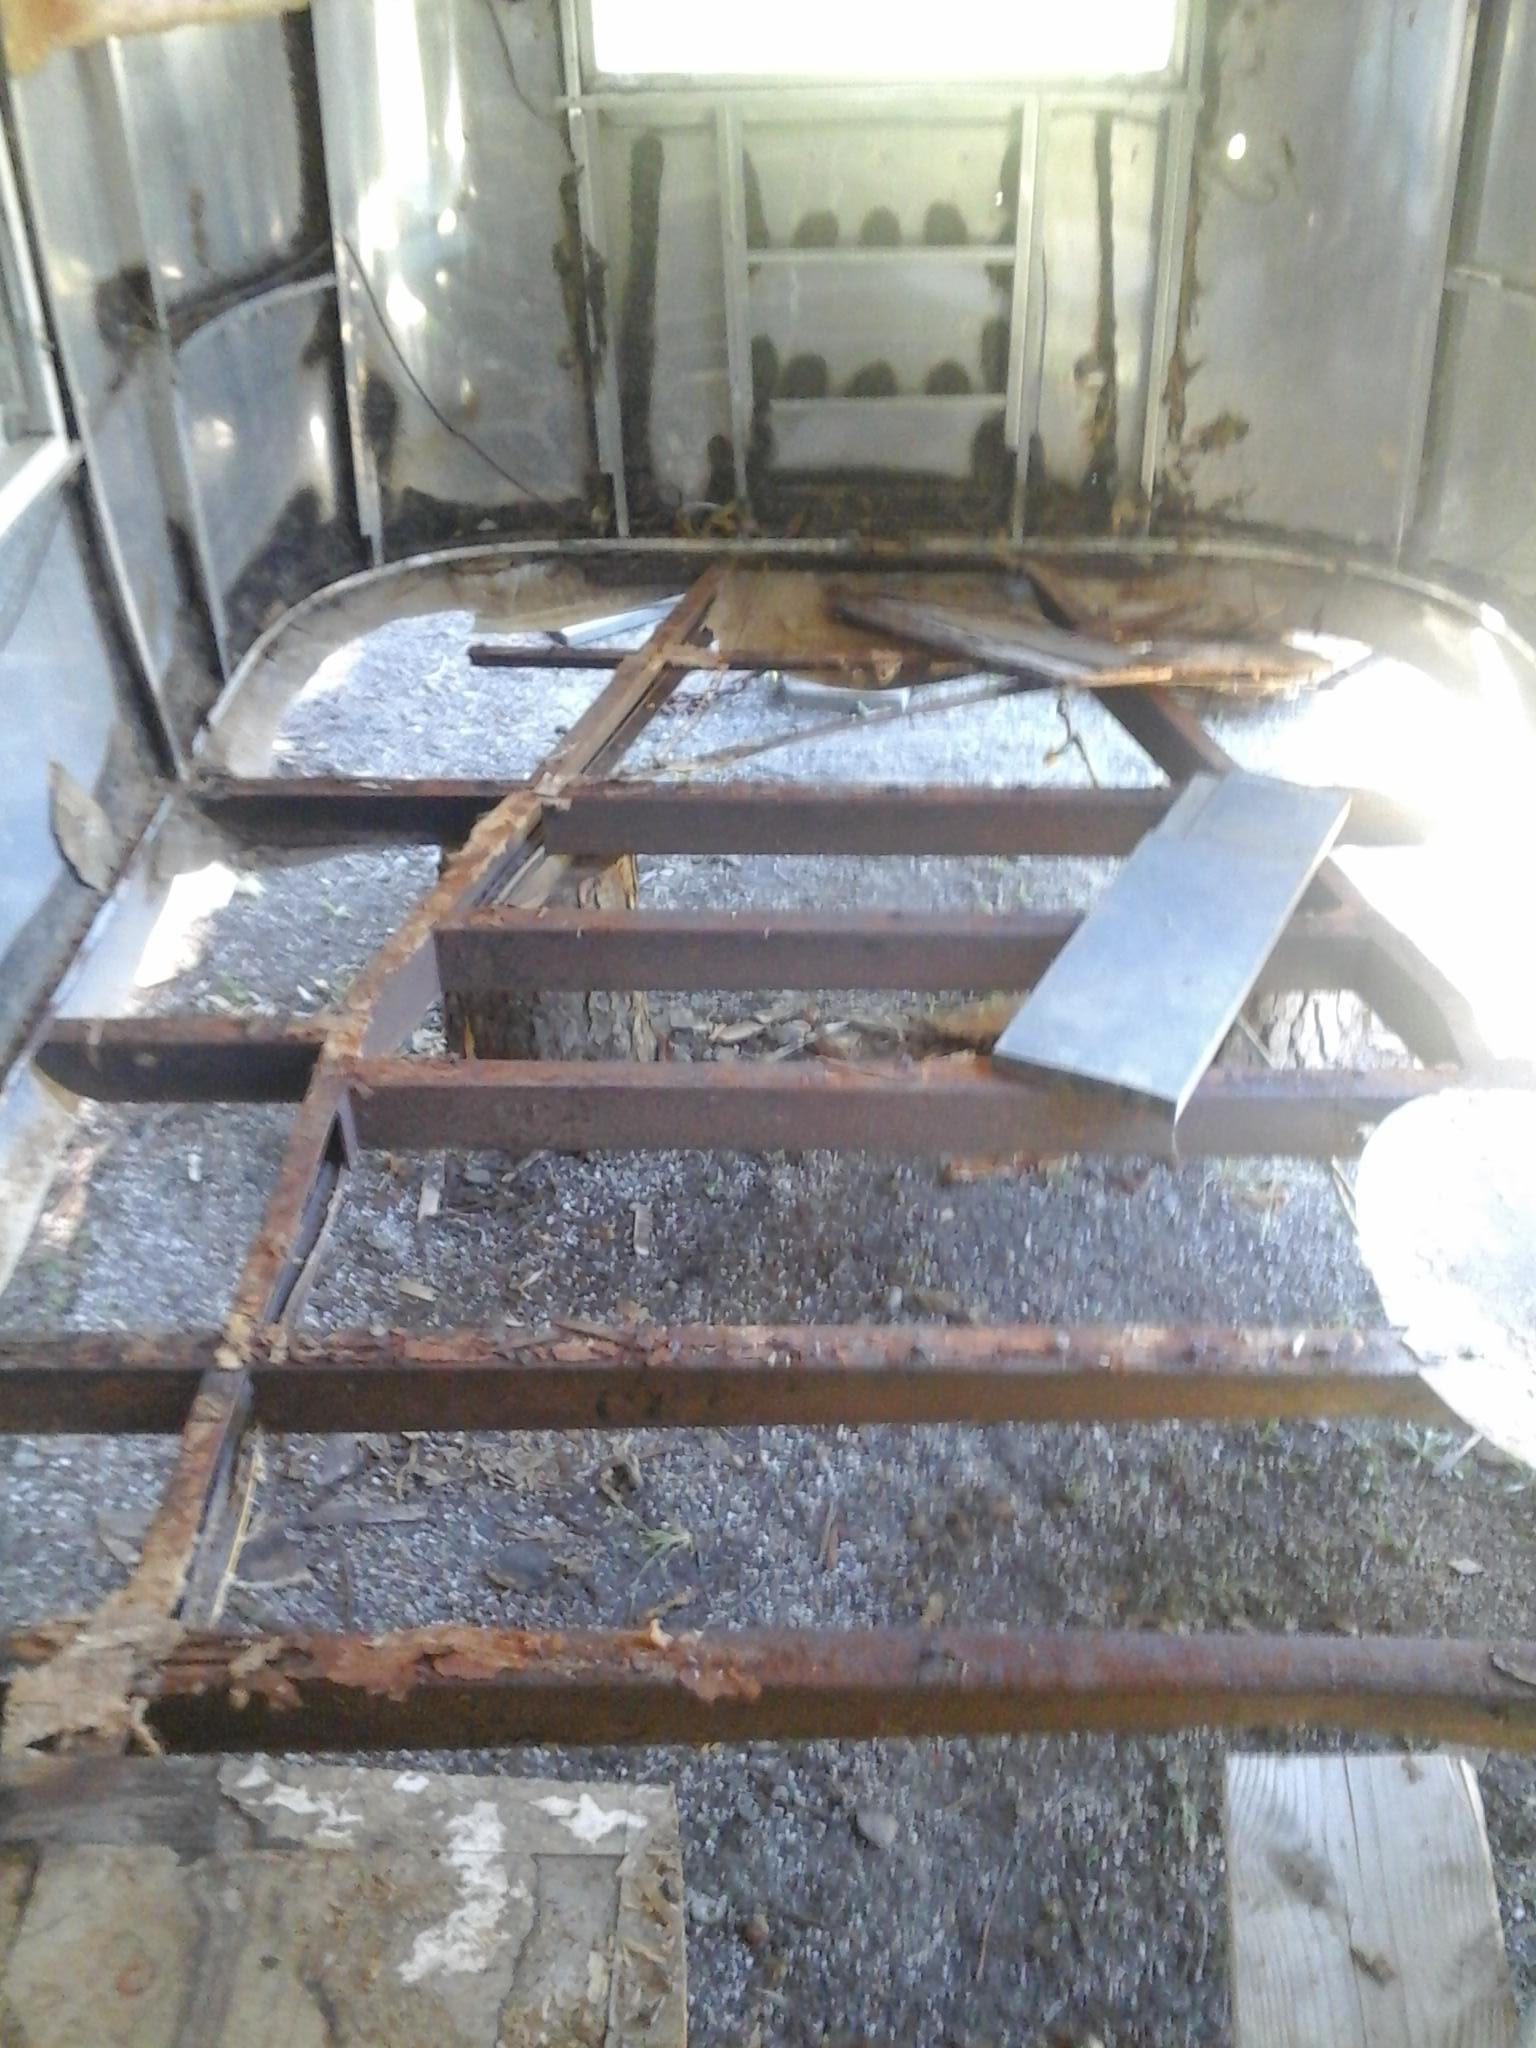
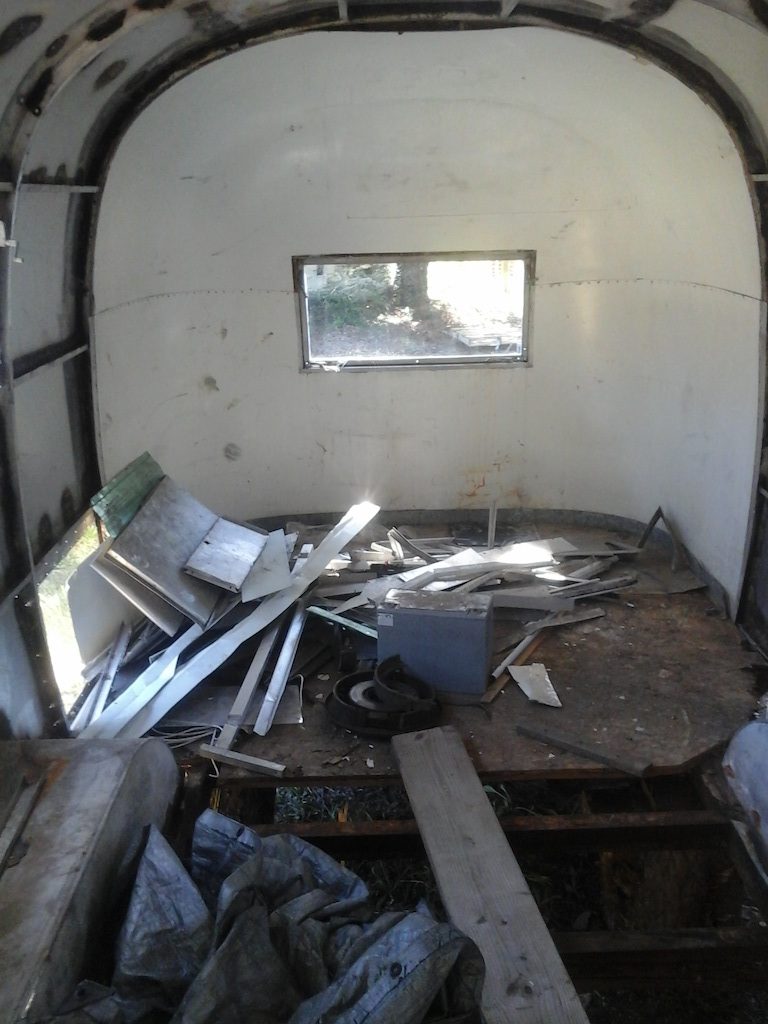
now it’s time to rip out the ass of this project.

20170625_160855

previous owner covered the floor with chipboard, that did not go under the shell, not even all the way to the edge even!

20170625_160903

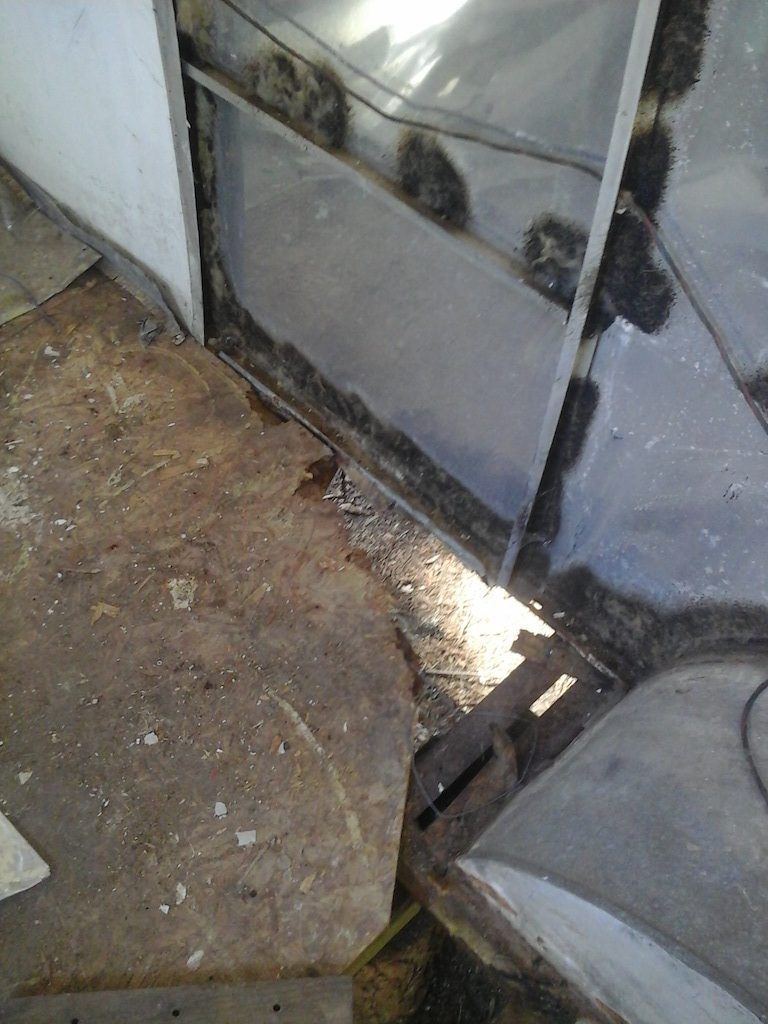
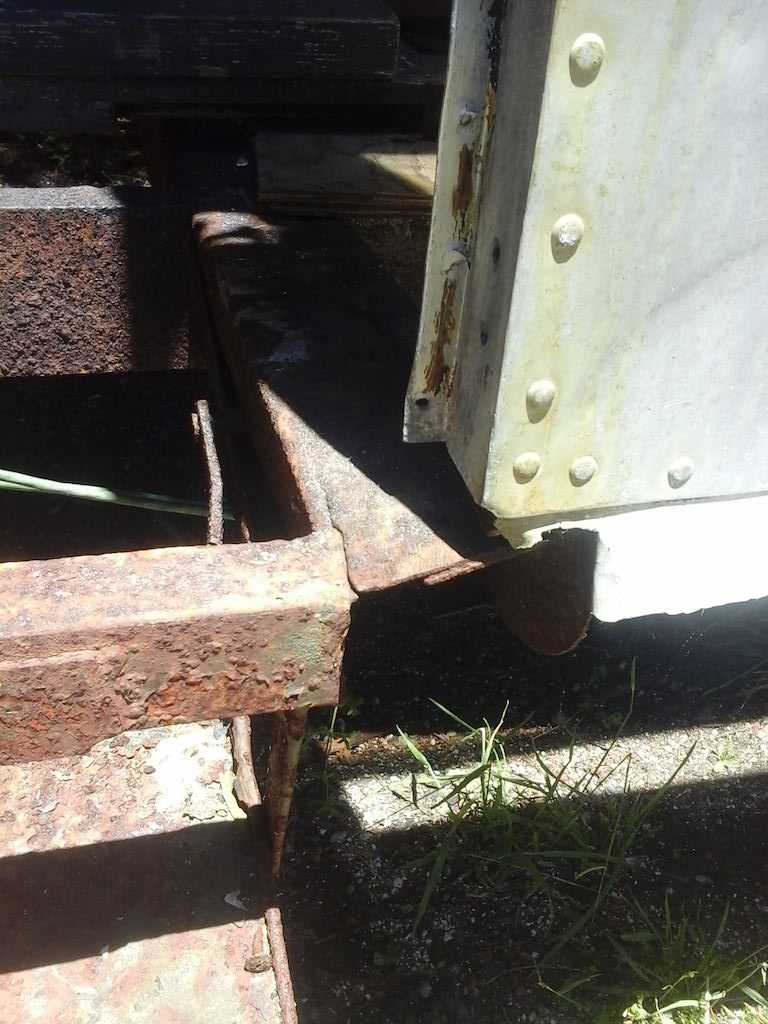
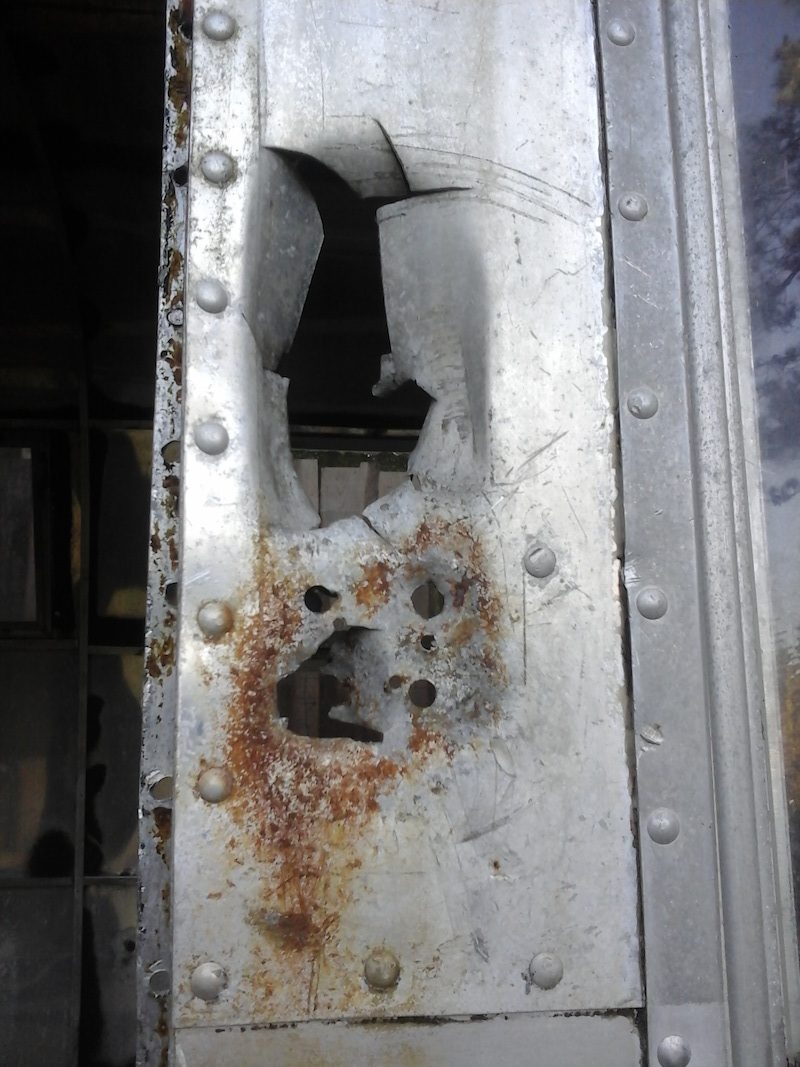
the whole back end of the trailer is held together with the galvanized sheet floor cover and a few rivets in the steel side trim piece.   there is no wood connecting the shell to the frame, just this galvanized finger trim.

20170625_160929

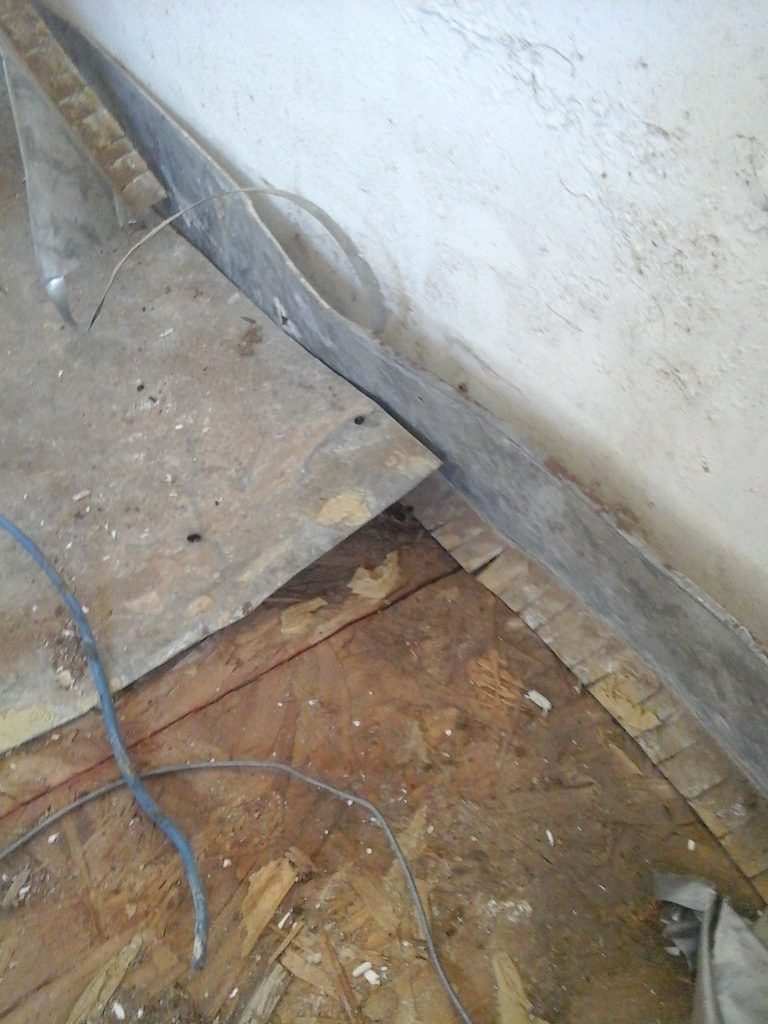
at least it will be easy to remove!


Halfway Floored

there’s something to be said for momentum, something like “if you keep pushing at just the right time…” at least get half the new floor installed.

20170623_175745

nothing bolted down, still nudging and budging (technical term for “bigger hammer”) but within 1/4″ all around.

20170623_175550

still need to deal with the wheel covers, they are galvanized steel, and completely corroded away at the sides.  another reason not to bolt down yet, i’ll slide some new steel under and then bend and rivet to the original.

20170622_175009

second sheet in,

20170623_175544

and third sheet (of six) in.

20170623_175738

not sure what, if anything, i’ll cover it with, for right now it starts to feel like a workshop.  can you see it yet?


Hose and Wire.

i always carry a bit of fuel hose and bailing wire with me in the truck.  been doing it for years. why? lots of liquids in an automobile runs better when they stay in.  so here’s the blown out transmission cooler bypassed with hose and wire.  i used the “2 x 2 x 2” wire method.  2(1) separate pieces of wire to make 2 “clamps” on each side.  each wire gets 2(2), and only 2, not 1, not 3 or more, just 2 wraps around the hose, and each wrap gets only 2(3) twists to snug, not over tight where the wire stretches or breaks.  got me few hundred miles till i had time to put in a replacement cooler just in time for the heat!!!

20170613_175232

Solstice Success

on the longest day, i finally got over the halfway point with the project fondly named “Two”.  i am now officially “putting back together” more than i am “taking apart”.  There is still plenty of floor to remove in the back still, but here is the first and hardest sheet of new plywood floor installed.

20170621_194032

but first, the torn swing out step frame had to be fixed.

20170614_124818

one of those things easier to work with on a bench, so cut out the whole thing, along with the frame pieces it was attached (sorta) to.

20170619_131536

i could see making this a lift-gate door now, or a drop ramp…

20170619_131518

but no, lets go with sturdy box tube door frame that i can add a step to later.

20170621_194100

sorry, no closeups of the flux-core 120vac welds, you can just imagine yucky gross blobs and splatter. will hit it with gas mig when i do the step.  after its rolling again.

tomorrow, weld a brace at the 2/3 seam, sheet #2 then goes in, and #4 can come out.  this project is Zen forcing my “lots of littles” discipline game.


oxide cleanup

removed all the trims, borrowed a good friend’s pressure washer, down to the bare metal is as far as it goes.  can see clearly now how previous owner took off too much of the AlClad pure Al layer with something rotary (sander?).  bozo flat headed all the backed rivets and shook half of them loose too.

20170609_192501

the steel lights did the worst damage to the aluminum.  only way to find out if it there is enough aluminum left underneath is to remove all the oxide layers.  i’m kinda fascinated how the Fe (iron) migrated onto the aluminum, the lights might have been plated (Cr) or dipped (Zn)….

20170609_192321

above before and below after quick hit with medium wire brush wheel.

20170609_192434

20170609_192307

no, actually the worst damage was the tweakers.  my lock will be easier to open than that one was…..

20170609_192352


three sheets

finally back to work on Two.  the wet winter and missing roof vent covers means the remaining floor is coming out fairly easily.  the original plywood is in amazing strong shape where the over cover chipboard didn’t rot it away.   since i’m not taking the shell all the way off, this is as far as i can do at once, three sheets of new plywood, then do the other half once the front shell is re-attached.  THIS is my summer art project !!!

20170603_155829

frame is in good shape.  time spent now on the frame before laying the new ply will be time well invested. some cleaning, wire brushing, sulfuric acid, primer, seal coat, yeah.  whole lot of littles ahead !!!!

20170603_155801

and then all again on the back half…